
Download & Install

The fastest way to put anything on the internet.

Node.jsSDK

1

Get started with Node.js

Clone the ngrok Node.js SDK example and install dependencies:

git clone git@github.com:ngrok/node-sdk-example.git && cd node-sdk-example
npm install

Install the ngrok Node.js SDK:

npm install @ngrok/ngrok

Add ngrok to your app:

index.js

const ngrok = require("@ngrok/ngrok"); async function forwardToApp() {	const forwarder = await ngrok.forward({		addr: "localhost:8085",		authtoken_from_env: true,	});	console.log(`Available at: ${forwarder.url()}`);} forwardToApp();
2

Run your app

NGROK_AUTHTOKEN="<YOUR_AUTHTOKEN>" node index.js

Don’t have an authtoken? for a free account.

Open your ngrok URL in a browser to see it working!

Watch

The JavaScript SDK, end to end

You’re all set. What’s next?

const tp = `on_http_request:	# redirect users to Google to log in	- actions:		- type: oauth			config:				provider: google 	# allow logins *only* from acme.com	- expressions:		- "!actions.ngrok.oauth.identity.email.endsWith('@acme.com')"		actions:		- type: deny`; const forwarder = await ngrok.forward({ addr: 8080, traffic_policy: tp });
const tp = `on_http_request:	# verify webhook signatures from your provider	- actions:		- type: verify-webhook			config:				provider: github				# access your signing key from a secure ngrok vault				# no cleartext secrets in your policy, friend				secret: ${secrets.get('webhook-vault', 'github-secret')}`; const forwarder = await ngrok.forward({ addr: 8080, traffic_policy: tp });
const tp = `on_http_request:	# redirect users to your OpenID provider to log in	- actions:		- type: openid-connect			config:				issuer_url: https://accounts.google.com				# access your OIDC details from a secure ngrok vault				client_id: ${secrets.get('auth-vault', 'oidc-client-id')}				client_secret: ${secrets.get('auth-vault', 'oidc-client-secret')}				scopes:					- openid					- email`; const forwarder = await ngrok.forward({ addr: 8080, traffic_policy: tp });
const tp = `on_http_request:	- actions:		- type: basic-auth			config:				credentials:					# add up to 10 username:password pairs, all stored safely in a vault					- user01:${secrets.get('basic-auth-vault', 'password01')}					- user02:${secrets.get('basic-auth-vault', 'password02')}`; const forwarder = await ngrok.forward({ addr: 8080, traffic_policy: tp });

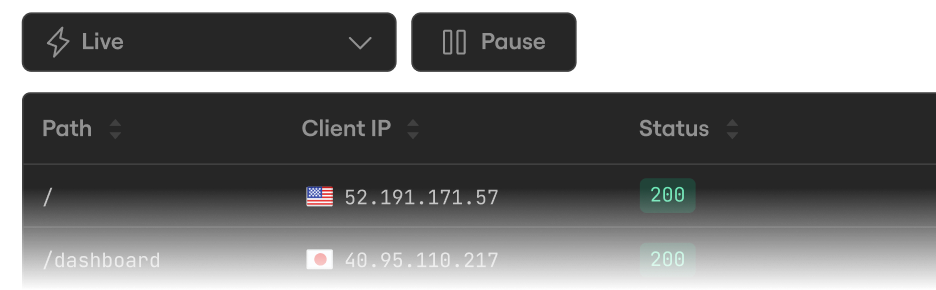
Inspect every detail of your traffic

Watch the flow in real time, then dig into the headers, body, latency, response, and more for every request.
Peruse the NodeJS SDK quickstart

Follow along to embed ngrok into your app and use Traffic Policy for auth and traffic transformation.

Bring your own domain

Paid feature

Create a DNS CNAME record to use your own domain name for your endpoint URL.

async function connectNgrok() {	const forwarder = await ngrok.forward({		addr: 8085,		authtoken_from_env: true,		domain: "app.acme.com",	});}

Add load balancing

Endpoint Pooling lets you automatically distribute traffic among any number of replicas of your app.

const ngrok = require("@ngrok/ngrok"); async function forwardToApp() {	const session = await new ngrok.SessionBuilder().authtokenFromEnv().connect();	const listener = await session		.httpEndpoint()		.domain("app.acme.com")		// Endpoint pooling is currently only supported through the builder API, not ngrok.forward().		.poolingEnabled(true)		.listenAndForward("http://localhost:8085");	console.log(`Available at: ${listener.url()}`);} forwardToApp();