
Download & Install

The fastest way to put anything on the internet.

WindowsAgentDetected

1

Install the ngrok agent

For the most secure experience, use the Microsoft Store to install ngrok.

Microsoft Store Installer

Install ngrok via WinGet with the following command:

winget install ngrok -s msstore

Install ngrok via Scoop with the following command:

scoop install ngrok

Download a standalone executable with zero run time dependencies.

If Windows Defender incorrectly flags ngrok.exe, try the Microsoft Store or WinGet options instead. Learn why this happens.

2

Add your authtoken

ngrok config add-authtoken "<YOUR_AUTHTOKEN>"

Don’t have an authtoken? for a free account.

3

Start an endpoint

ngrok http 80

80 is an example port. Use your app’s actual port. View docs for more info.

Open your ngrok URL in a browser to see it working!

You’re all set. What’s next?

Create a policy.yaml file and run this command:

ngrok http 80 --traffic-policy-file policy.yaml
contents of policy.yaml
1on_http_request:2  # redirect users to Google to log in3  - actions:4    - type: oauth5      config:6        provider: google7 8  # allow logins *only* from acme.com9  - expressions:10    - "!actions.ngrok.oauth.identity.email.endsWith('@acme.com')"11    actions:12    - type: deny

Create a policy.yaml file and run this command:

ngrok http 80 --traffic-policy-file policy.yaml
contents of policy.yaml
1on_http_request:2  # verify webhook signatures from your provider3  - actions:4    - type: verify-webhook5      config:6        provider: github7        # access your signing key from a secure ngrok vault8        # no cleartext secrets in your policy, friend9        secret: ${secrets.get('webhook-vault', 'github-secret')}

Create a policy.yaml file and run this command:

ngrok http 80 --traffic-policy-file policy.yaml
contents of policy.yaml
1on_http_request:2  # redirect users to your OpenID provider to log in3  - actions:4    - type: openid-connect5      config:6        issuer_url: https://accounts.google.com7        # access your OIDC details from a secure ngrok vault8        client_id: ${secrets.get('auth-vault', 'oidc-client-id')}9        client_secret: ${secrets.get('auth-vault', 'oidc-client-secret')}10        scopes:11          - openid12          - email

Create a policy.yaml file and run this command:

ngrok http 80 --traffic-policy-file policy.yaml
contents of policy.yaml
1on_http_request:2  - actions:3    - type: basic-auth4      config:5        credentials:6          # add up to 10 username:password pairs, all stored safely in a vault7          - user01:${secrets.get('basic-auth-vault', 'password01')}8          - user02:${secrets.get('basic-auth-vault', 'password02')}

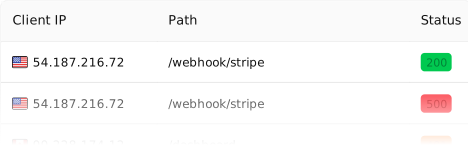
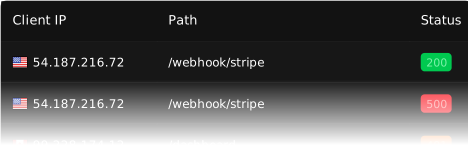
Inspect every detail of your traffic

Watch the flow in real time, then dig into the headers, body, latency, response, and more for every request.
Configure your agent

Configure settings like multiple endpoints, load balancing, and traffic transformation with Traffic Policy.

Bring your own domain

Paid feature

Create a DNS CNAME record to use your own domain name for your endpoint URL.

ngrok http 8080 --url https://app.acme.com

Run as background service

Recover connectivity after unexpected software or hardware failures.

1ngrok service install --config .\ngrok.yml2ngrok service start