Architectural reference
Why only one ngrok agent per remote network?
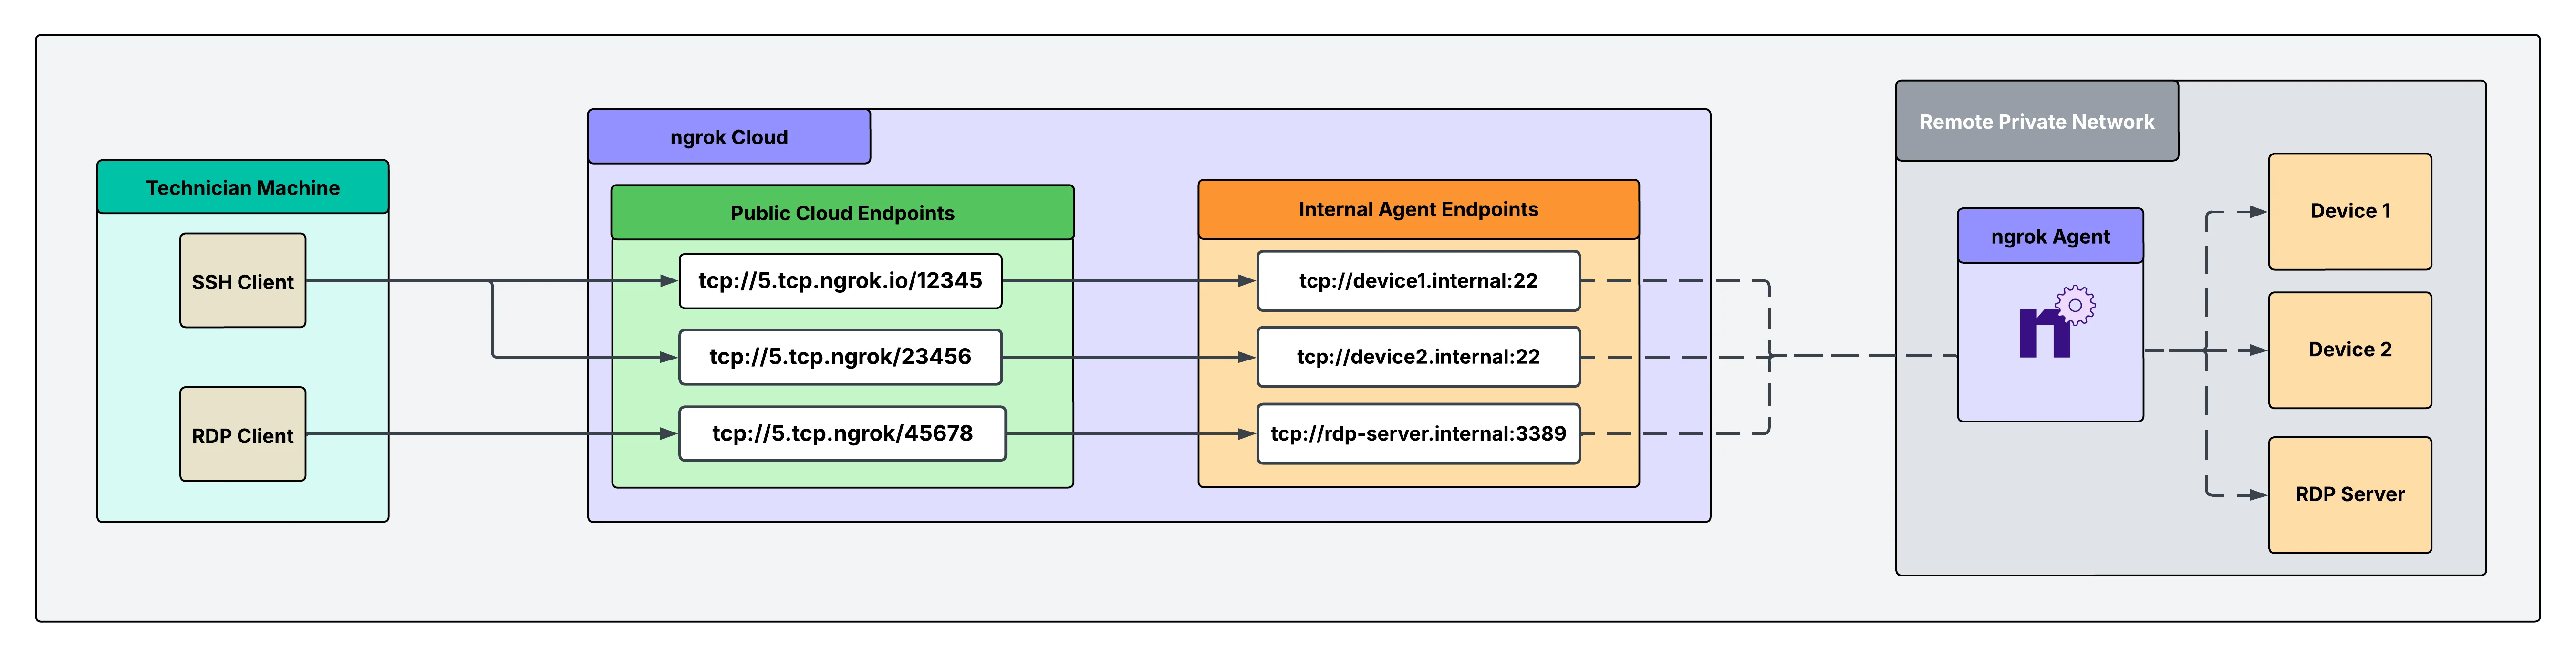
Traditionally, you might assume that every service or device inside the network needs its own ngrok agent, but this isn’t necessary. A single ngrok agent is installed on a network-accessible server inside the remote network. The agent acts as a central gateway that can reach any service on the local network, eliminating the need for multiple agents.What you’ll need
- An ngrok account. If you don’t have one, sign up.
- An ngrok agent configured in a remote network or remote device. See the getting started guide for instructions on how to install the ngrok agent.
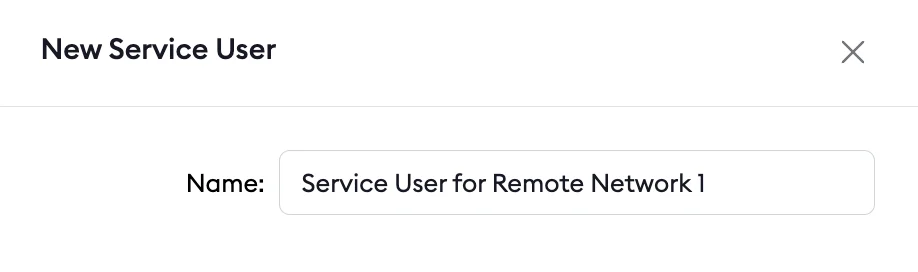
1. Create a service user and authtoken for isolated network access
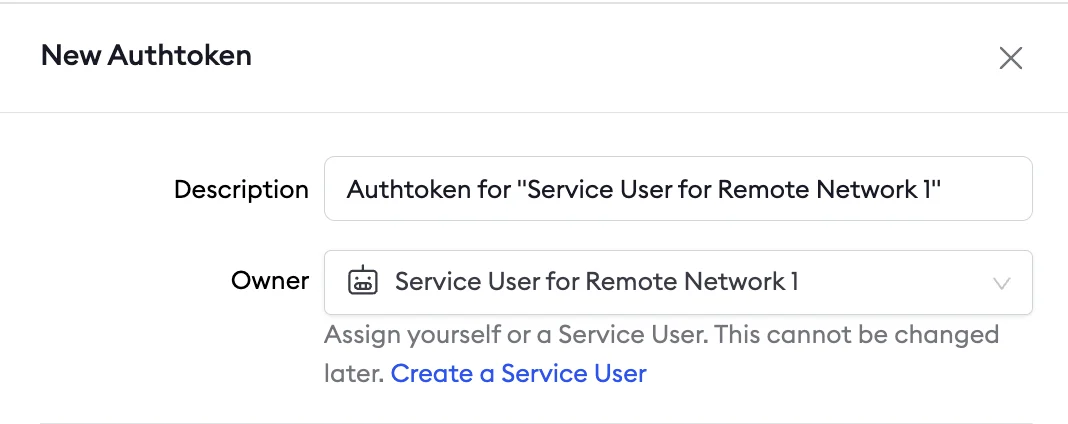
First, create a service user and an associated authtoken for each of your customers. A service user is intended for automated systems that programmatically interact with your ngrok account (other platforms sometimes call this concept a Service Account). Create a separate service user and associated authtoken for each of your customers so that:- Their usage of your ngrok account is isolated and scoped with a specific permission set
- If a customer is compromised, you can revoke their access independently
- Agent start/stop audit events are properly attributed to each customer
- Your ngrok agents don’t stop working if the human user who set them up leaves your ngrok account
2. Install the ngrok agent within your remote network and configure internal Agent Endpoints in ngrok.yml
Configure the agent to create internal Agent Endpoints that point to the devices you want to remotely access. This connects the devices to your ngrok account, but nothing can connect to them until you complete the subsequent steps. The configuration to achieve this is shown in the example agent configuration file below. Internal Agent Endpoints are private endpoints that only receive traffic when forwarded through the forward-internal Traffic Policy action. This allows you to route traffic to an application through ngrok without making it publicly addressable. Internal Agent Endpoint URL hostnames must end with.internal.
After installing the ngrok agent, define internal Agent Endpoints for each service you want to remotely access inside the ngrok configuration file.
You can install ngrok and its configuration file at /path/to/ngrok/ngrok.yml and the executable at /path/to/ngrok/ngrok.
3. Reserve a TCP address for each device and server
You need to reserve a TCP address to create a TCP Cloud Endpoint, which you’ll do in the next step. Reserving the address holds it exclusively for your ngrok account. Do this for each device and for the RDP server.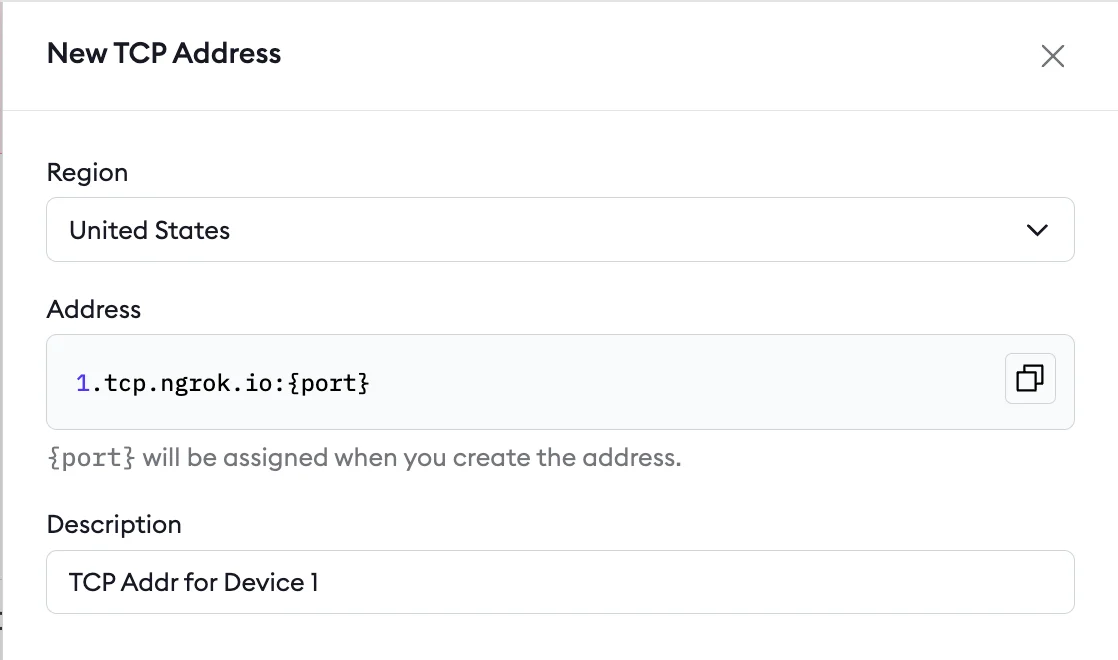
4. Create your TCP Cloud Endpoints and attach a Traffic Policy
Cloud Endpoints are persistent, always-on endpoints whose creation, deletion, and configuration is managed centrally via the dashboard or API. They exist permanently until explicitly deleted. Cloud Endpoints don’t forward their traffic to an agent by default—they only use their attached Traffic Policy to handle connections.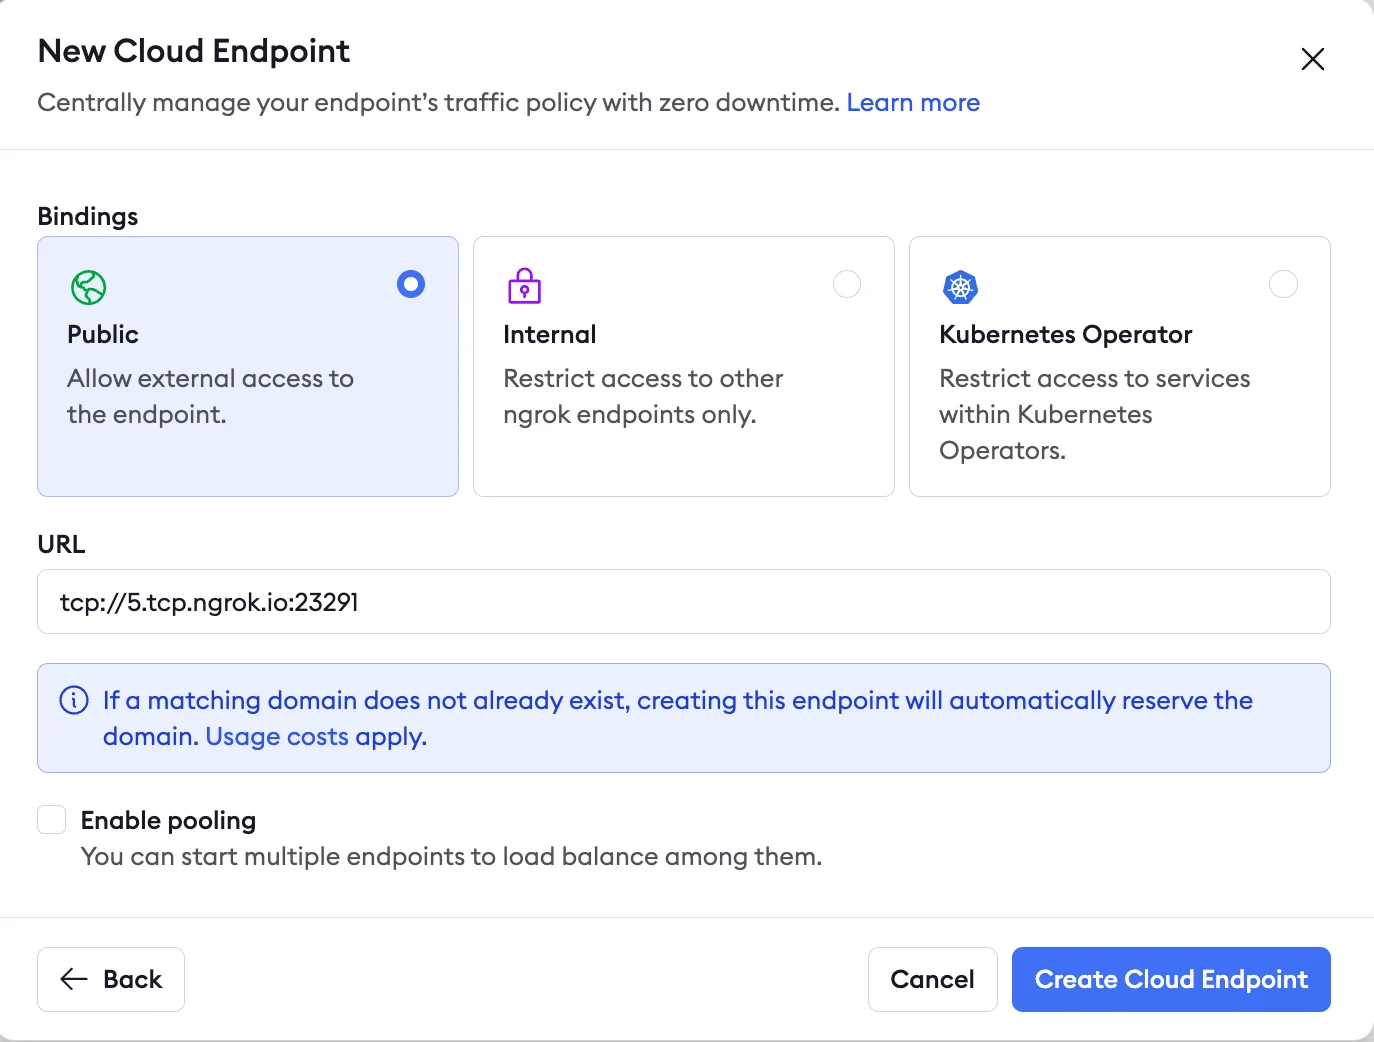
5. Secure your Cloud Endpoint with IP restrictions
Navigate to your newly created Cloud Endpoint in the Endpoints tab on your ngrok dashboard and apply arestrict-ips Traffic Policy action to enable a source IP allow list.
IP restrictions let you directly filter who can use the endpoint and prevent port scanners or other malicious actors.
You can add this action directly to the Cloud Endpoint’s YAML configuration.
The final config for this action is shown below:
6. Use your ngrok TCP endpoints with your SSH and RDP clients
Now that you’ve created and secured your TCP Cloud Endpoints, you can use them in your existing SSH and RDP client setups to test your remote connectivity.What’s next
- Install ngrok as a background service to ensure the agent starts on boot and recovers from failures.
- Eliminate single points of failure with redundant agents to achieve high availability.