Jan 4, 2023
When you package executables for Windows, you have two options: Code Signing or Wishful Thinking. If you go the Wishful Thinking route, you get this warning:
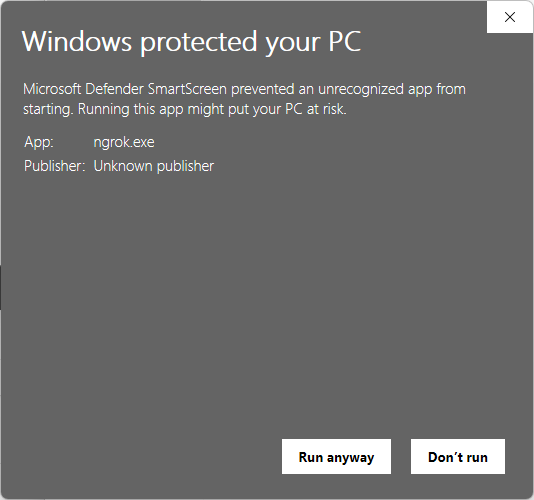
At best, it’s an intimidating message your end user can bypass. At worst, corporate IT policy blocks it completely and they can’t run your program. We don’t want that.
ngrok publishes its agent (get it here!) to a number of platforms, Windows included. One of the nice security features on Windows is code signing. Code signing uses certificates distributed by reputable businesses to establish trust of the software you install and run on your computer. We recently started signing the ngrok agent to improve trust in our platform.
Unfortunately, the documentation around Code Signing is scattered, vague, and often out of date (even on those reputable business’ websites). You’ll probably find some articles or Stack Overflow posts with details, but they’ll be from a decade back and sound like black magic at first. We celebrated when we figured it out and automated the code signing process but we also want to make it easier for the next teams. These resources are particularly geared toward *nix users publishing for Windows.
We’re signing an executable built with go, but these instructions will generally work with other languages. We will
- purchase a code signing certificate
- sign our executable with that certificate
- add metadata to give context and detail
Purchasing your Code Signing Certificate
A number of companies exist to verify you/your business and provide a code signing certificate. This certificate is one of part of a chain where the root is owned by the certificate authority. Often, that root is trusted by your end users’ machines already, so when they go to use your signed software, the transitive trust provides the experience you want: no security popups.
We chose DigiCert Code Signing Certificates. Some of our folks had past experiences using them, and a quick survey of installed software on a few of our computers pointed to DigiCert as a common root authority. Given we’re developers and our customers are developers, we figured it likely our users also had the DigiCert root trusted on their machines.
![]()
Purchasing a signing certificate from DigiCert is pretty straightforward as you follow their instructions.
Three notes:
- You’ll need to generate a certificate signing request (CSR) during the purchasing process. (Briefly, you can do this with a combination of openssl genrsa -out yourname.key 4096 and openssl req new -key yourname.key -out yourname.csr. The docs on DigiCert’s site are pretty good.) This requires generating a strong private key. Stick that sucker in your secret store of choice ASAP. We use HashiCorp vault for our secret management.
- We recommend you get several trusted users on your account pretty quickly. Avoid that frustrating weekend where only Bob has the login credentials needed to rotate your signing certificate.
- The Extended Validation (EV) certificates are awesome if you have the infrastructure to 2-factor authentication in your code signing process. These provide a heightened level of trust, but it comes with an additional hurdle to automation. We chose to forego this level of validation to optimize for the automation below.
Bonus: Adding Metadata to your Code Signing
NOTE: This step is optional but needs to be done before you sign your executables. Skip to Signing if you don’t want to add metadata.
We use go-winres to add metadata, like a nice favicon, to our executable. If doing this step, do it while building your executable (varies depending on language toolchain). There are versions of this command using a configuration file, but our build pipeline prefers the full command for clarity:
1go-winres simply \\2 --arch “amd64,386” \\3 --product-version yourversion \\4 --manifest none \\5 --file-description "A description of your executable." \\6 --product-name "yourname” \\7 --icon youricon.ico \\8 // The rsrc extension gets picked up by go’s build tooling but is also a standard format many toolchains work with \\9 --out yourexecutable.rsrcAs long as that rsrc file is where your go source code is, go build will automatically include the metadata in your executable.
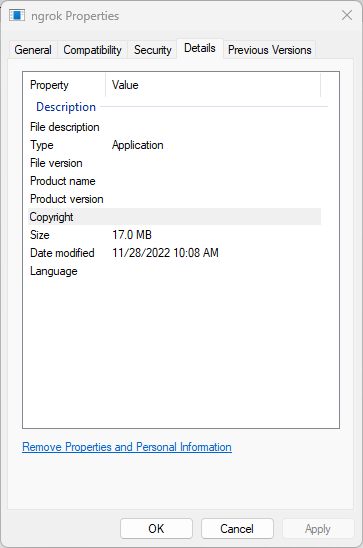
Before:
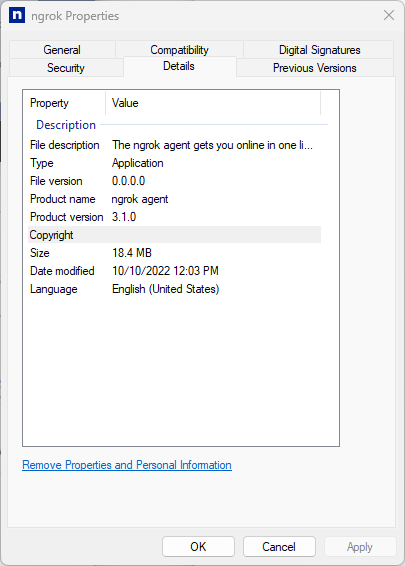
After:
Signing your Executable
Once you’ve purchased your code signing certificate, you’ll be able to download it in a number of formats. On your certificate page, something like https://www.digicert.com/secure/orders/SOME_ID, grab the one marked .crt (best for Apache / Linux) and put it on the machine you’ll be using for signing. You’ll want the file titled yourname.crt, rather than the ones with DigiCert in the name. With that file and yourname.key from the CSR above, we’ll use osslsigncode to sign our executable. From the osslsigncode docs:
osslsigncode is based on OpenSSL and cURL, and thus should be able to compile on most platforms where these exist.
We use the following set of arguments to sign, timestamp, and lightly brand:
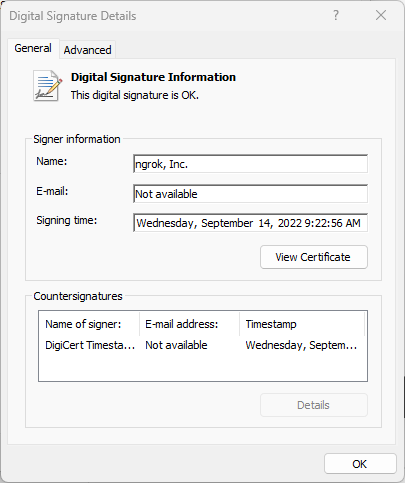
1osslsigncode sign \\2 // Signing cert from trusted authority \\3 -certs yourname.crt \\4 // Private key we created a CSR with for said authority and intend to sign code with \\5 -key yourname.key \\6 // The display name of the executable \\7 -n "yourname" \\8 -i yourdomain.com \\9 // DigiCert’s time servers \\10 -t <http://timestamp.digicert.com> \\11 -in yourexecutable.unsigned.exe \\12 -out yourexecutable.exe \\13 // Hash algorithm used by DigiCert, defaults to sha256 \\14 -h sha256After that, place your executable on a Windows Machine, right click from Explorer, and check out your security settings!
Recap on Code Signing
We have just
- purchased a code signing certificate from DigiCert (using openssl to generate a CSR)
- added Windows metadata to our build process using go-winres
- signed our executable using osslsigncode
You should now have a nicely signed and branded executable for use on Windows. Because all of the above was done on the command line, you can easily move it to the release process of your choice.
We strongly suggest your team automates this whole process. We put it in our developer commands for simplicity and making the right incantations the default. Next up for us is to add it to CI and automate releases for nightly, beta, and stable releases.