Okta SSO (SAML)
To secure access to ngrok with Okta Single Sign-On using SAML:
This article details how to configure Okta as the primary Identity Provider for ngrok tunnels. By integrating Okta SSO with ngrok, you can:
- Restrict access to ngrok tunnels only to users authenticated via Okta
- Use Okta security policies, MFA authenticators — including Okta Verify, FastPass, and FIDO2 — and ThreatInsights to control access to ngrok tunnels.
- Use Okta's Dashboard to facilitate access to ngrok apps.
Requirements
To configure ngrok tunnels with Okta, you must have:
- an Okta account with administrative rights to create apps
- an ngrok Enterprise Account with an authtoken or admin access to configure edges with SAML.
Configuration Steps
To integrate ngrok with Okta SSO, you will need to:
- Configure Okta with the ngrok app
- Configure ngrok with the SSO settings provided by Okta
Step 1: Configure Okta
Add the ngrok App in Okta
- Access your Okta Dashboard as an administrator and then click Admin.
- Click Application > Applications .
- Click Create App Integration,
- Select SAML 2.0, and then click Next.
- Enter the Application label — this is the app name that will be displayed in the okta dashboard for end users — and click Next.
- Enter in temporary values for "Single sign on URL" and "Audience URI" and select "EmailAddress" for "Name ID format" and then click "Next".
- Single sign-on URL: https://temporary
- Audience URI (SP Entity ID): https://temporary
- Name ID format: Email
- Select I’m an Okta customer adding an internal app and click Finish.
- Click Done.
- Under the Sign On tab of the ngrok application, copy the Client ID and Client Secret. These values will be used at ngrok to complete the configuration.
Download the IdP metadata
- Navigate to the Sign On Tab on the new app and click on Actions under the Active SHA-2 certificate and select View IdP metadata. The metadata will open in a new tab.
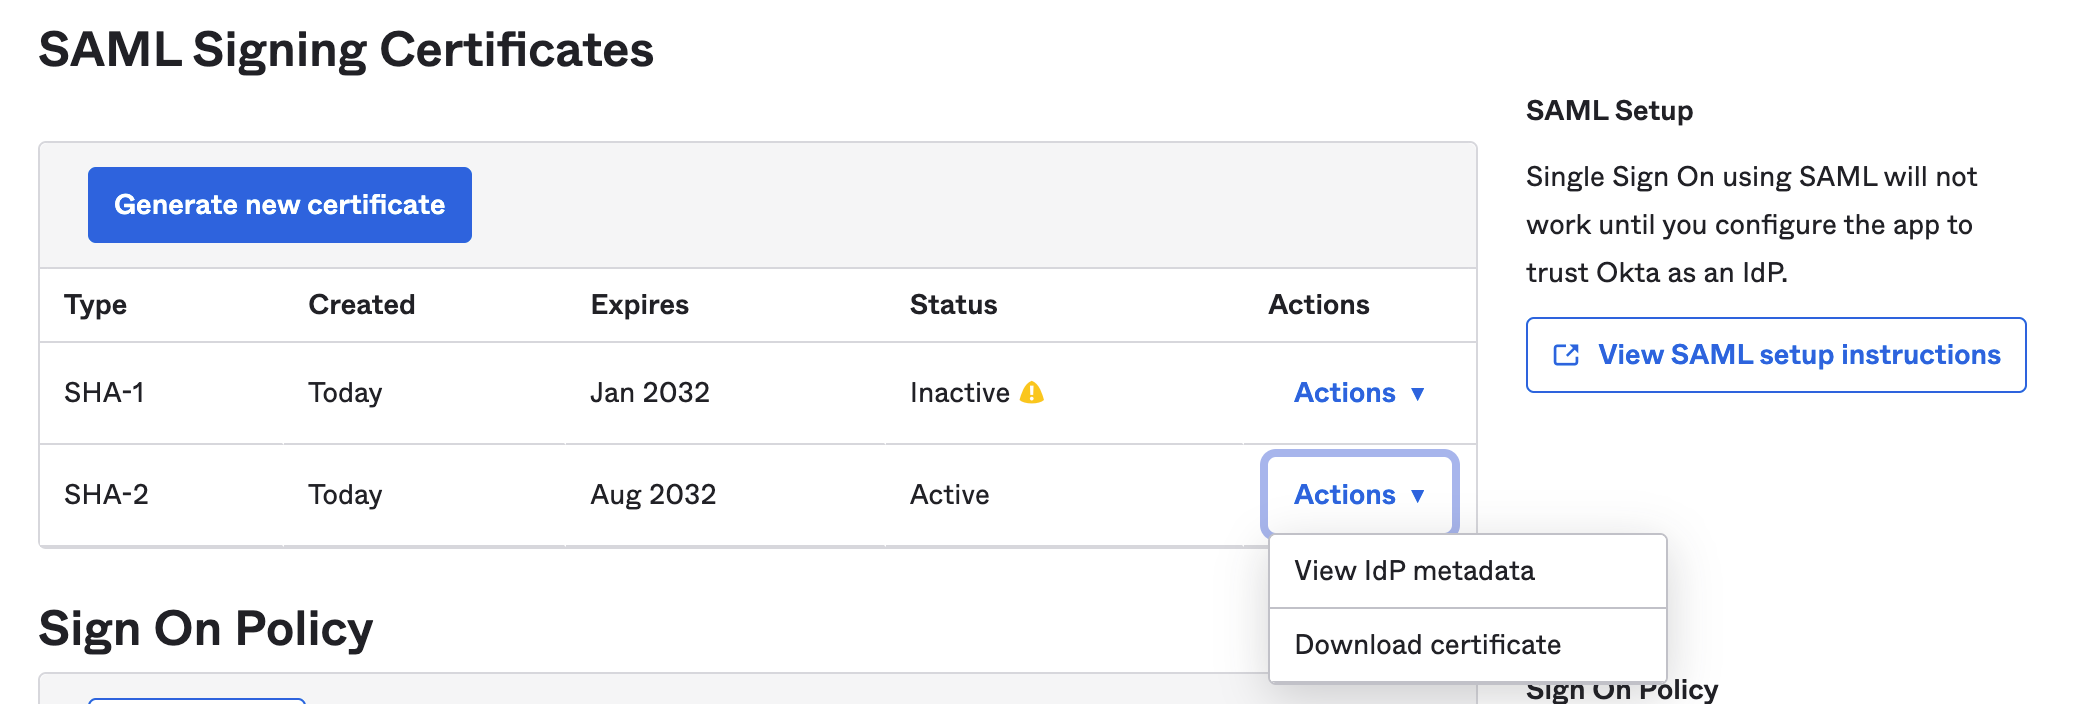
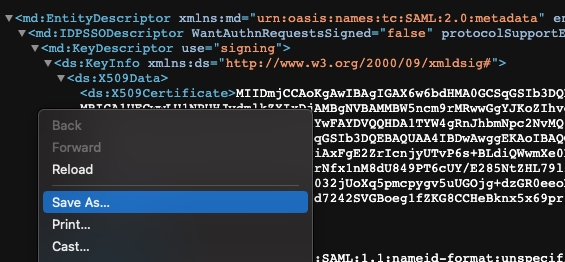
- In the new tab, Select Save As from the File menu to save your metadata.xml file for uploading into ngrok in a later step.
Grant access to Okta people and groups
Okta allows administrators to restrict access to SSO apps — such as ngrok — via assignments. By default, apps created in Okta have no assignments — in other words, nobody can use Okta SSO to access ngrok until you assign them to the app. To assign Okta users and groups to the ngrok app:
- Navigate to the Assignments Tab.
- Use the Assign button to associate groups and users with the ngrok app. To test the SSO with ngrok, make sure you're assigned to the app.
Step 2: Configure ngrok
ngrok Edge
To configure an edge with Okta:
-
Go to dashboard.ngrok.com.
-
Click Universal Gateway > Edges
-
If you don't have an edge already set to add Okta SSO, create a test edge:
- Click New Edge
- Click HTTPS Edge
- Click the pencil icon next to "no description". Enter Edge with Okta SSO as the edge name and click Save.
-
On the edge settings, click SAML.
-
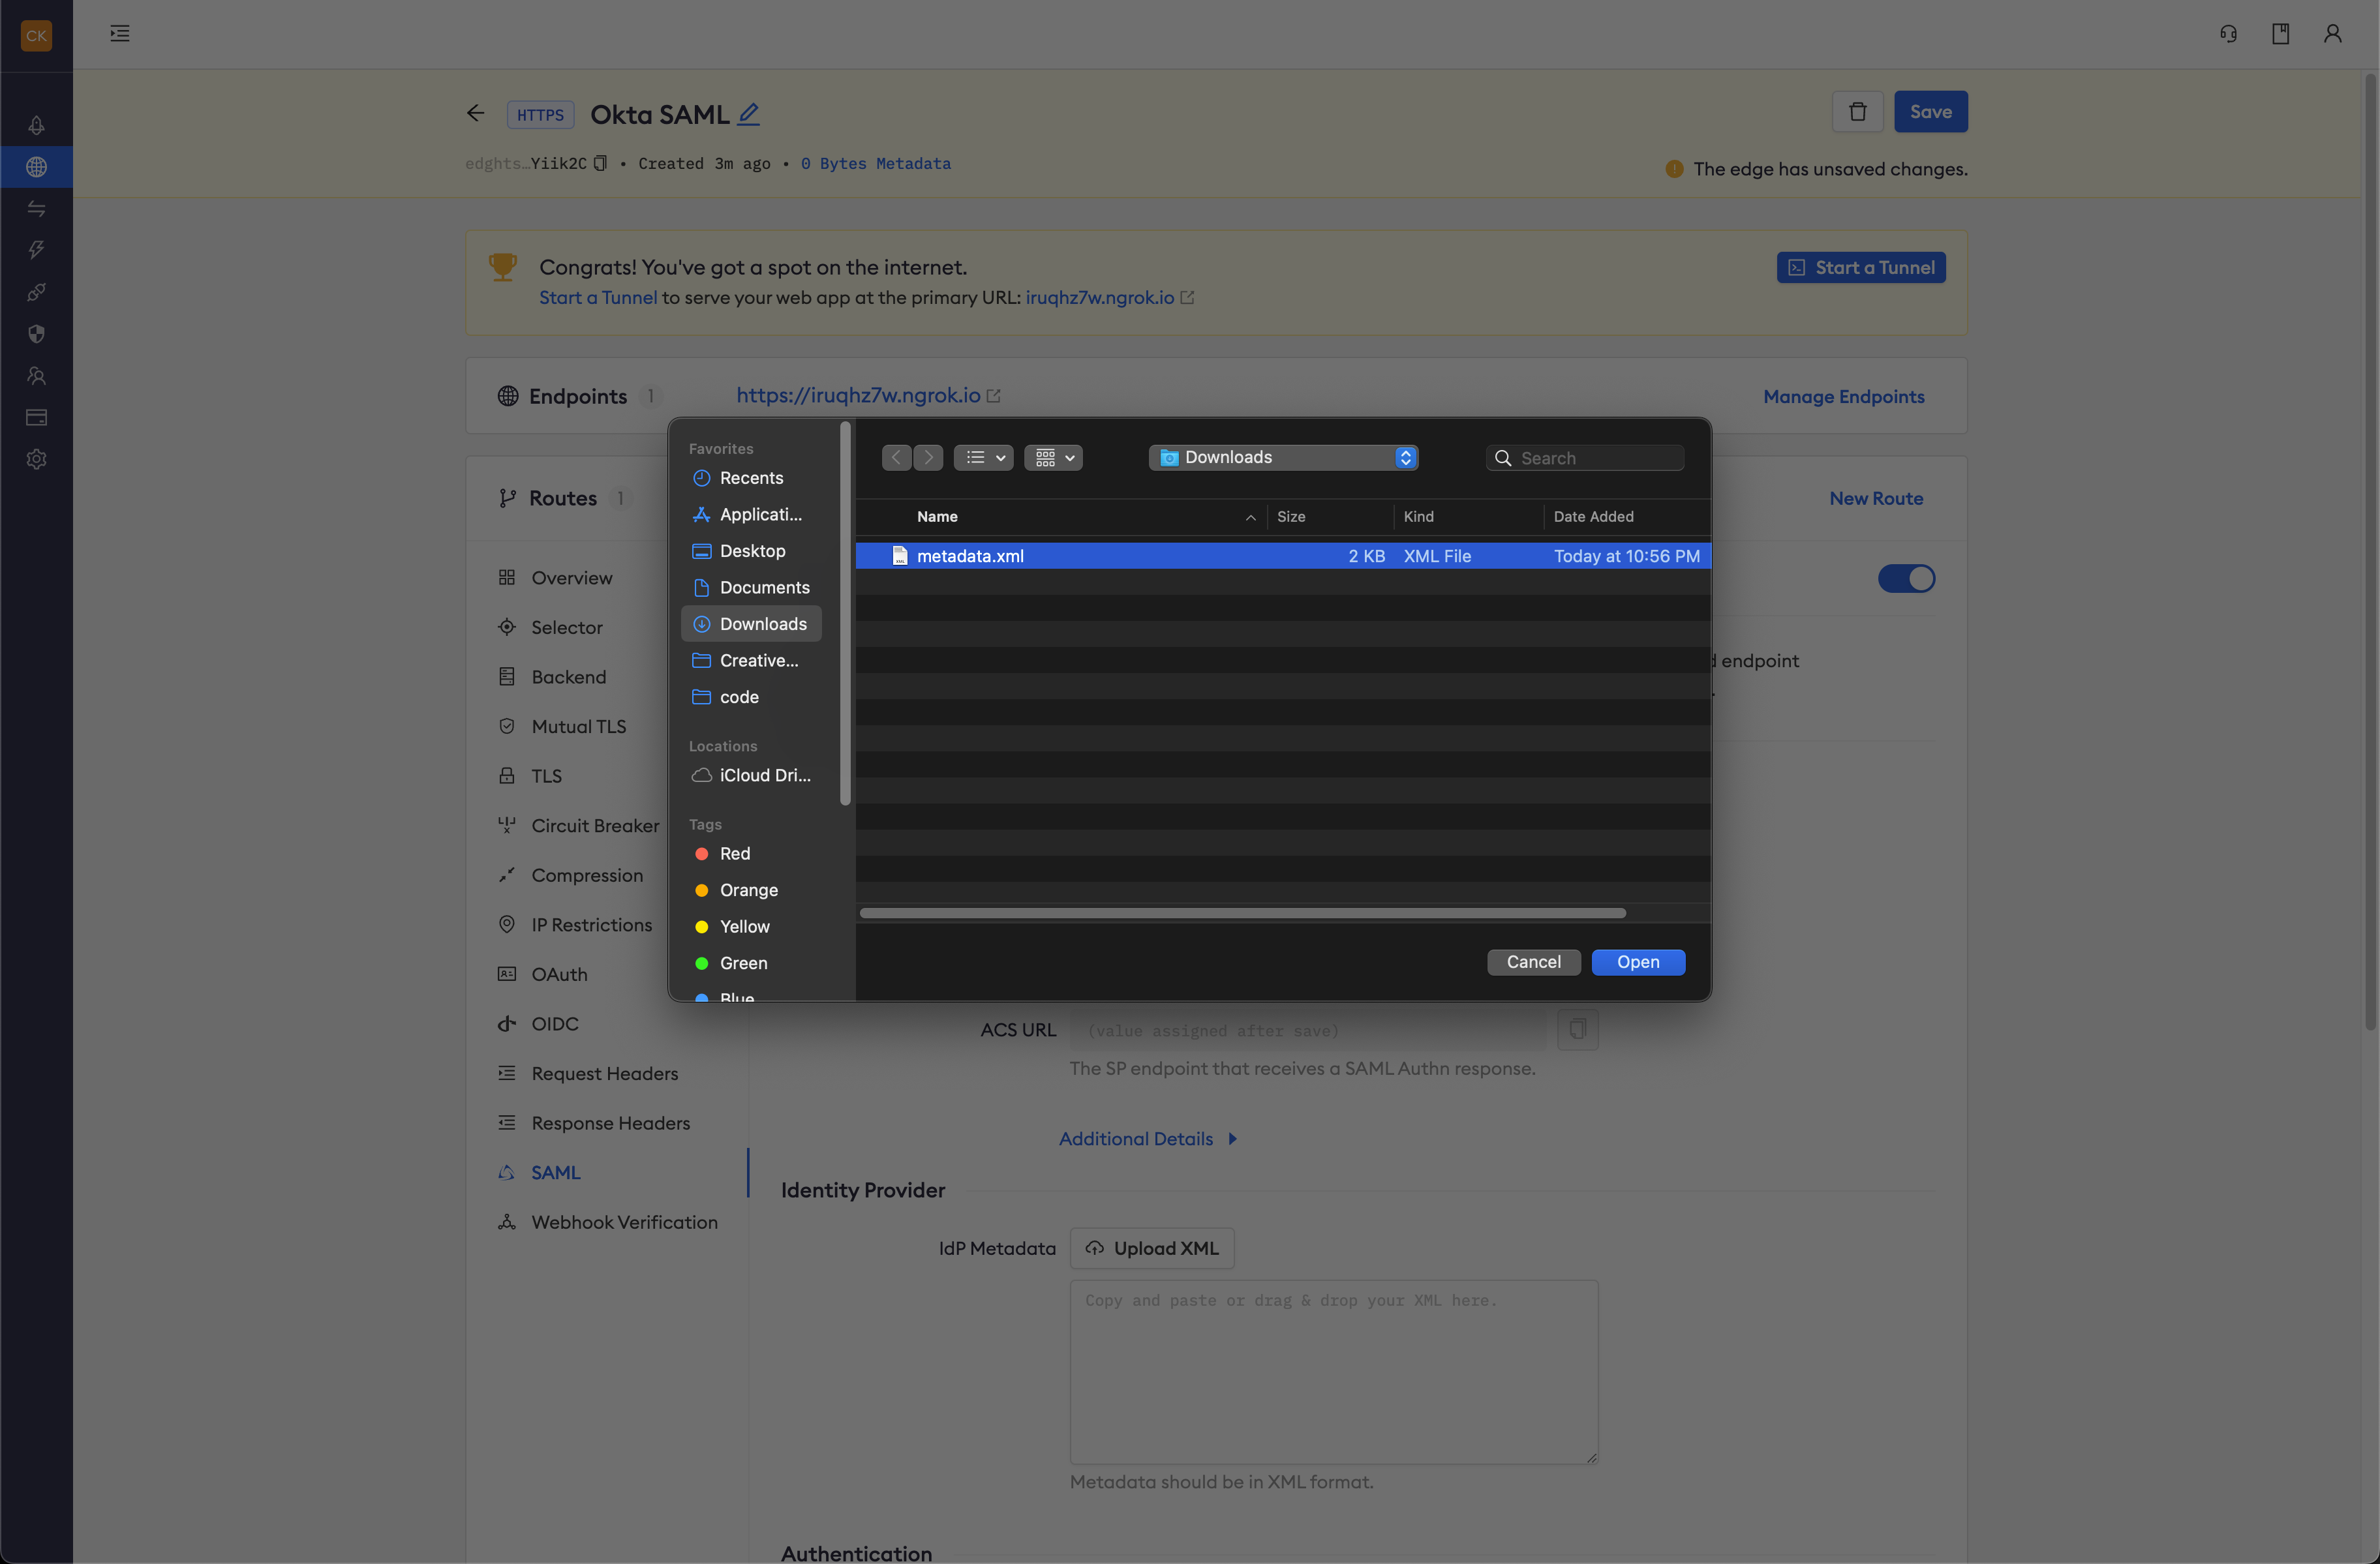
Click Begin setup and click on Upload XML beside IdP Metadata under Identity Provider and select your metadata file saved from the steps above:
-
Click Save at the top.
-
After you save, the SP Metadata will appear. Copy these values into the Okta where temporary values were placed above:
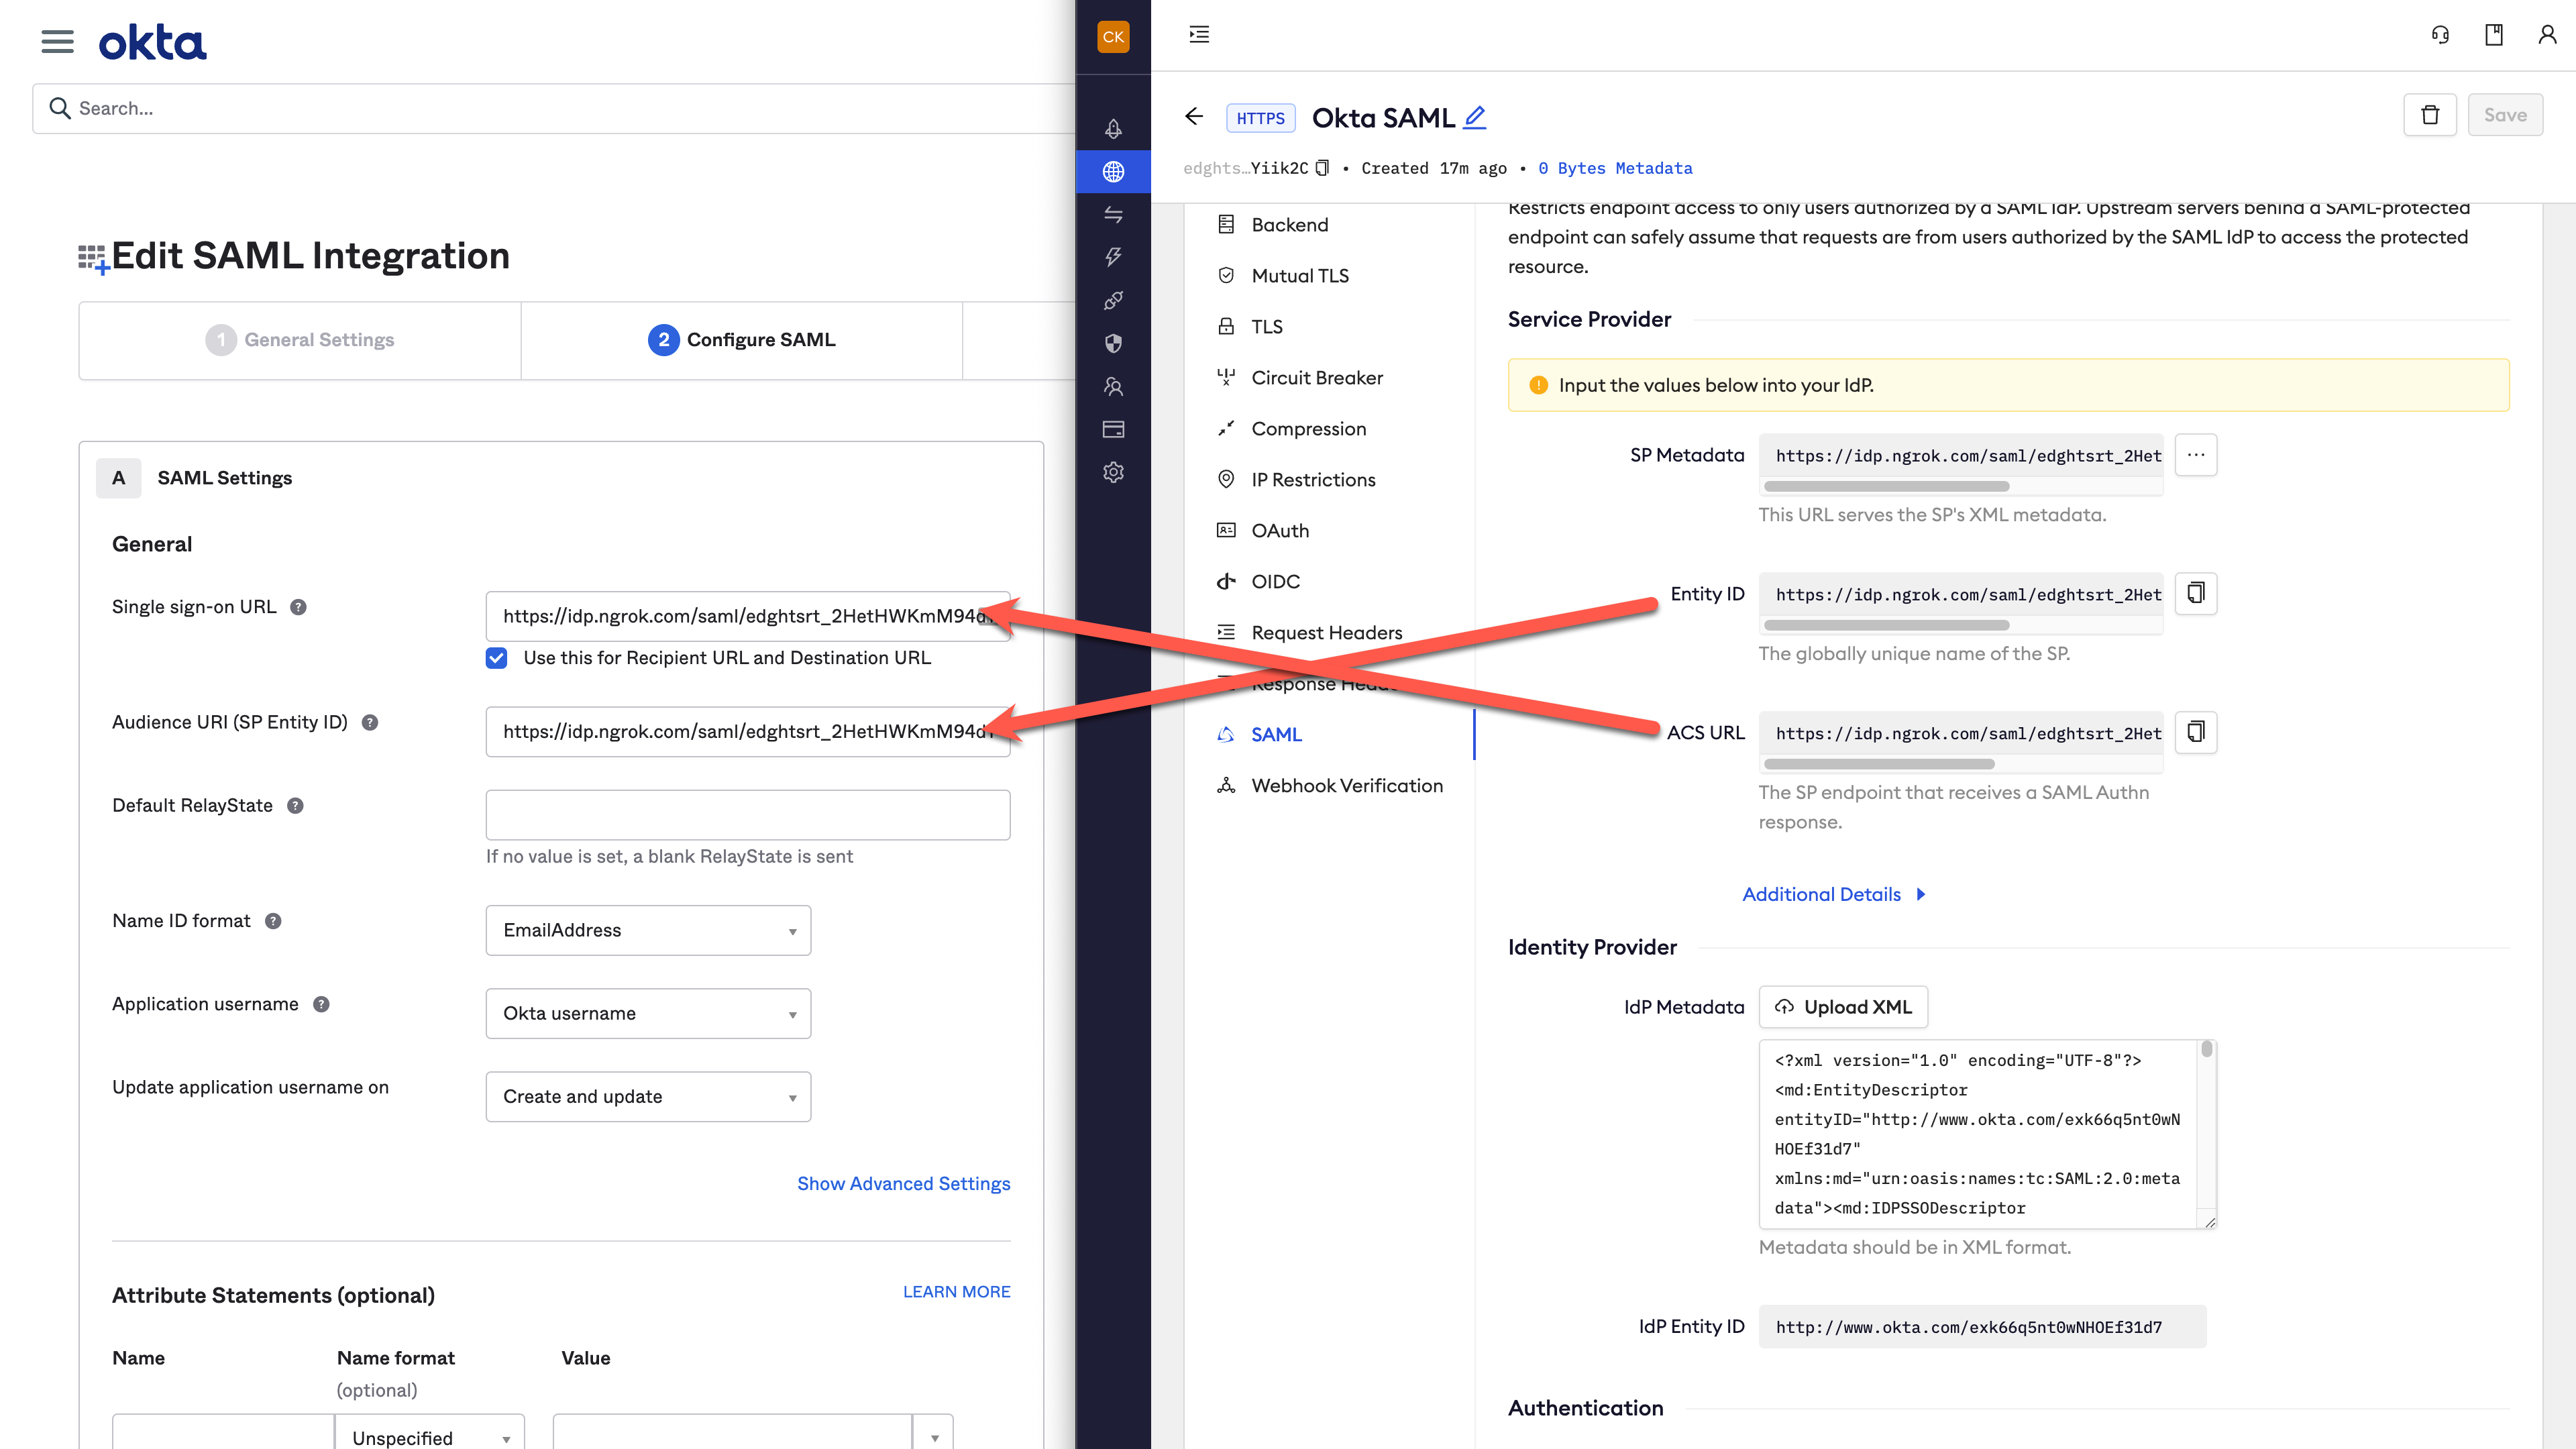
-
Save the changes in Okta.
-
Launch a tunnel connected to your Okta edge:
For this step, we assume you have an app running locally (i.e. on localhost:3000) with the ngrok client installed.
-
Click Start a tunnel.
-
Click the copy icon next to the tunnel command.

-
Launch a tunnel:
- Launch a terminal
- Paste the command. Replace http://localhost:80 with your local web app addess (i.e., http://localhost:3000)
- hit Enter. an ngrok tunnel associated to your edge configuration is launched.
-
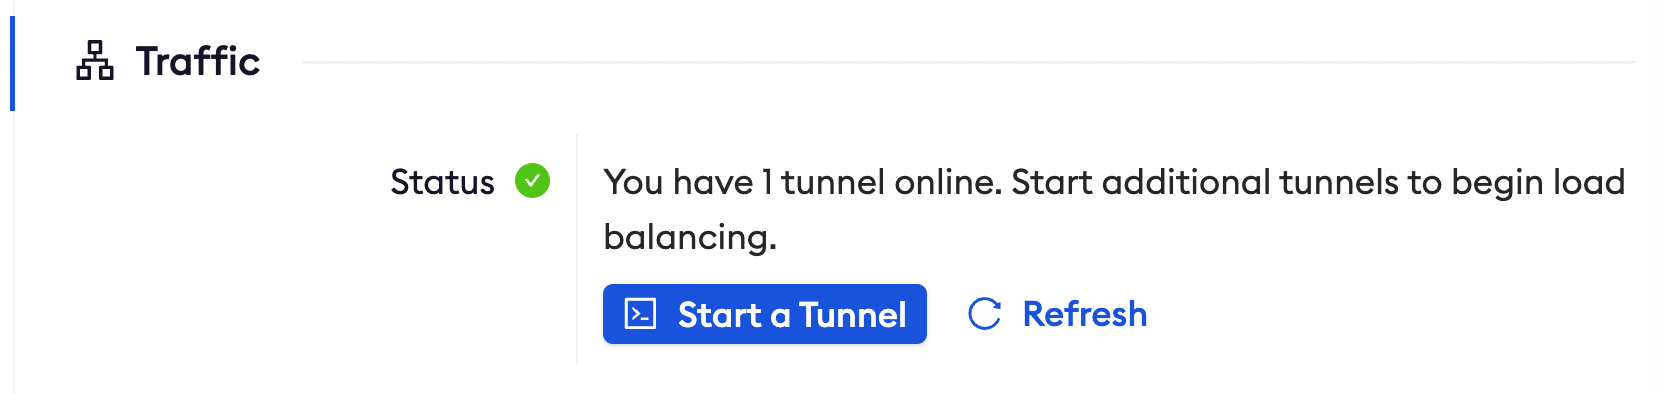
To confirm that the tunnel is connected to your edge:
- Return to the ngrok dashboard
- Close the Start a tunnel and the Tunnel group tabs
- Refresh the test edge page. Under traffic, You will see the message You have 1 tunnel online. Start additional tunnels to begin load balancing
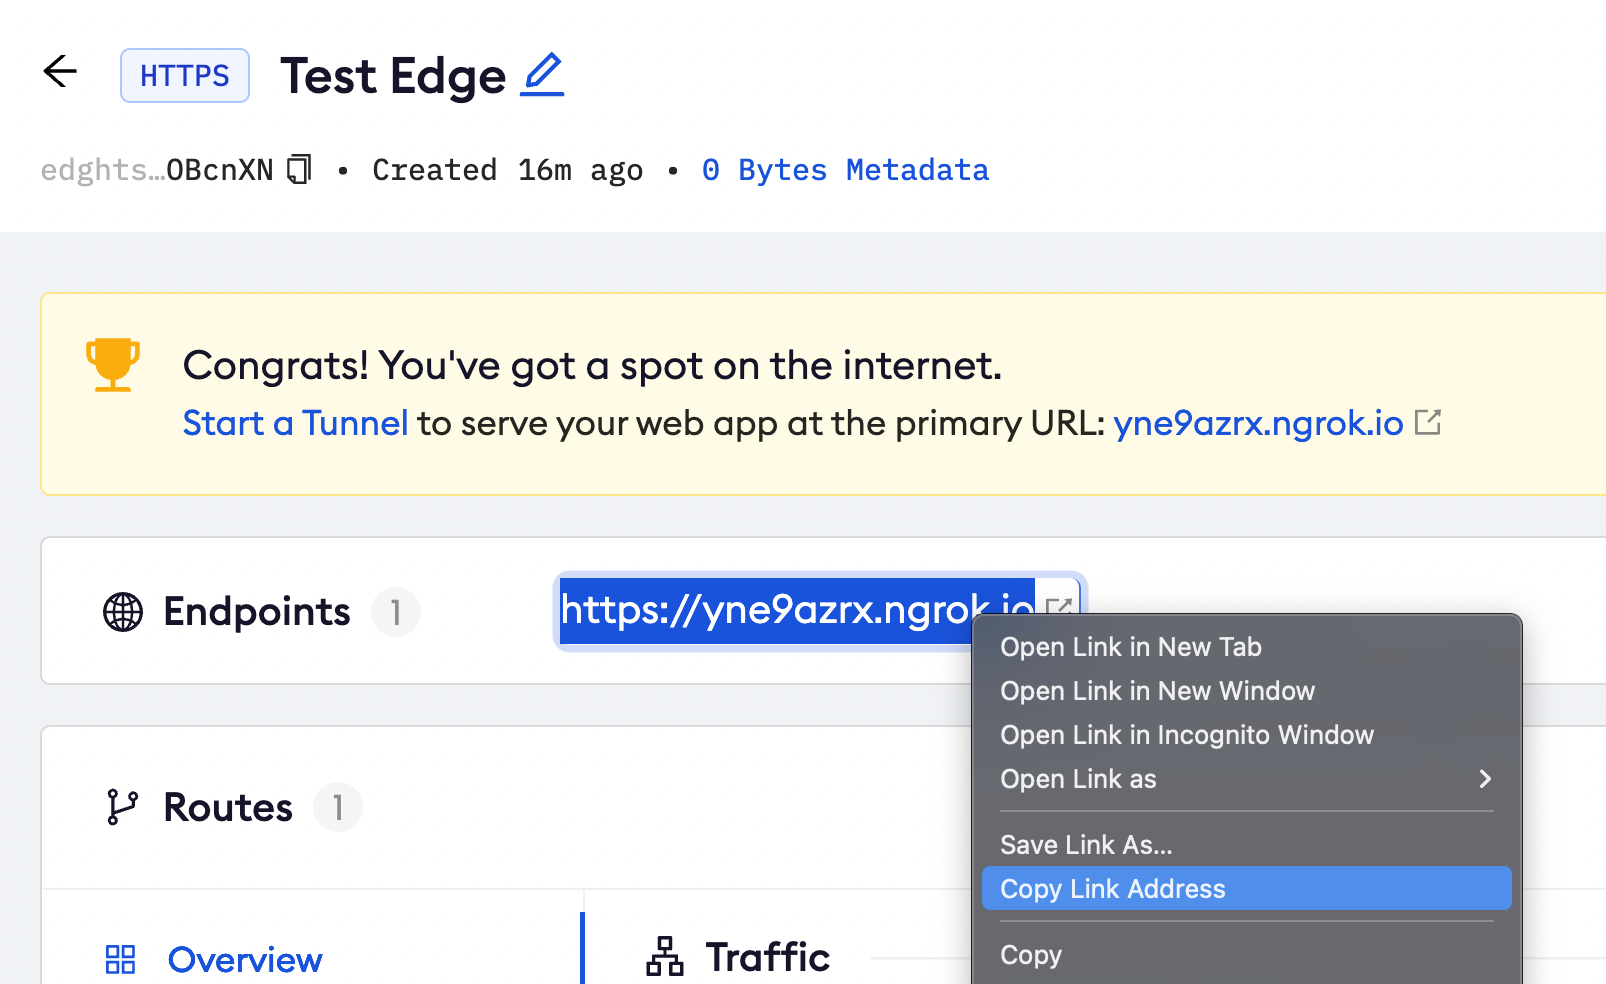
-
In the test edge, copy the endpoint URL. (you will use this url to test the Okta Authentication)
Step 3: Test the integration
- In your browser, launch an incognito window.
- Access your ngrok tunnel (i.e., https://okta-sso-test.ngrok.app or using a copied URL).
- You should be prompted to log in with your Okta credentials.
- After login, you should be able to see your web app.