Ingress to Kubernetes apps and srevices with vcluster
The ngrok Operator for Kubernetes is the official controller for adding public and secure traffic to your k8s services. This open source Operator works with any cloud, locally-hosted, or on-premises Kubernetes cluster to provide ingress to your applications, APIs, or other services while also offloading network ingress and middleware execution to ngrok's platform.
vcluster is an open source project for creating virtual clusters that run inside regular namespaces, which provides strong isolation and easy access for multiple tenants with low cost and overhead. The pods you deploy on a vcluster are scheduled inside of the underlying cluster, while other resources, like deployments and , exist only inside the virtual cluster.
Together, the ngrok Kubernetes Operator and vcluster work to provide secure and load-balanced ingress for services running on a virtual cluster, which lets you isolate development environments, create an internal developer platform (IDP) in cloud native environments, and run experiments or simulations virtually while properly routing external traffic.
With this guide, you'll use an existing Kubernetes cluster, or set up a local development cluster with minikube, to launch a virtual cluster, and deploy a demo application. You'll then deploy the ngrok Kubernetes Operator to connect your demo application to the ngrok platform to route traffic to your vcluster.
What you'll need
- The vcluster CLI installed locally.
- An existing remote or local Kubernetes cluster OR minikube to create a new demo cluster locally.
- An ngrok account.
- kubectl and Helm 3.0.0+ installed on your local workstation.
- The ngrok Kubernetes Operator installed on your cluster.
- A reserved domain, which you can get in the ngrok
dashboard or with the ngrok
API.
- You can choose from an ngrok subdomain or bring your own custom branded
domain, like
https://api.example.com. - We'll refer to this domain as
<NGROK_DOMAIN>.
- You can choose from an ngrok subdomain or bring your own custom branded
domain, like
Set up a local virtual cluster with vcluster
To follow along with this guide, you need a remote or local Kubernetes cluster with vcluster installed. If you have an existing cluster with vcluster set up, you can skip this step and proceed to Step 2: Install a sample application.
If you don't have a cluster already, create one locally with minikube and install vcluster.
-
Create a local Kubernetes cluster with minikube.
Loading…
-
Use the
minikubeCLI to ensure your new local cluster is running properly.Loading…
-
Create a new vcluster with the name
my-vcluster, which creates a new namespace calledvcluster-my-clusterand automatically switches the active kube context to use your new vcluster.Loading…
-
To ensure your new local cluster is running properly get the namespaces for your instance. Your list of namespaces in the
my-vclustercontext should look something like this.Loading…
If you are not connected to your new vcluster and its kube context, you can run
vcluster connect my-vclusterto try again.You know have a vcluster installed on your local minikube cluster.
noteThese steps are partially based the guide Using the ngrok Kubernetes Operator to create Preview Environments with vcluster from Loft, the maintainers of vcluster.
Install a sample application
At this point, you have a functional vcluster with the ngrok Kubernetes Operator running and authenticated with your ngrok credentials. To demonstrate how the Operator simplifies routing external traffic to your primary cluster, virtual cluster, and ultimately an exposed service or endpoint, you can install a sample application.
-
Reserve a domain for ingress if you don't have one already. Navigate to the Domains section of the ngrok dashboard and click Create Domain or New Domain. We'll refer to this as
<NGROK_DOMAIN>for the remainder of this guide.By creating a subdomain on the ngrok network, you provide a public route to accept HTTP, HTTPS, and TLS traffic.
-
Create a new Kubernetes manifest (
2048.yaml) with the below contents. This manifest defines the 2048 application service and deployment, then configures the ngrok Kubernetes Operator to connect thegame-2048service to the ngrok network. Be sure to replace<NGROK_DOMAIN>with the domain you reserved a moment ago.Loading…
-
Apply the
2048.yamlmanifest to your vcluster.Loading…
tipNote: If you get an error when applying the manifest, double check that you've updated the
NGROK_DOMAINvalue and try again. -
Access your 2048 demo app by navigating to the your domain, e.g.
https://one-two-three.ngrok.app. ngrok's edge and your Operator will route traffic to your app from any device or external network as long as your vcluster remains operational.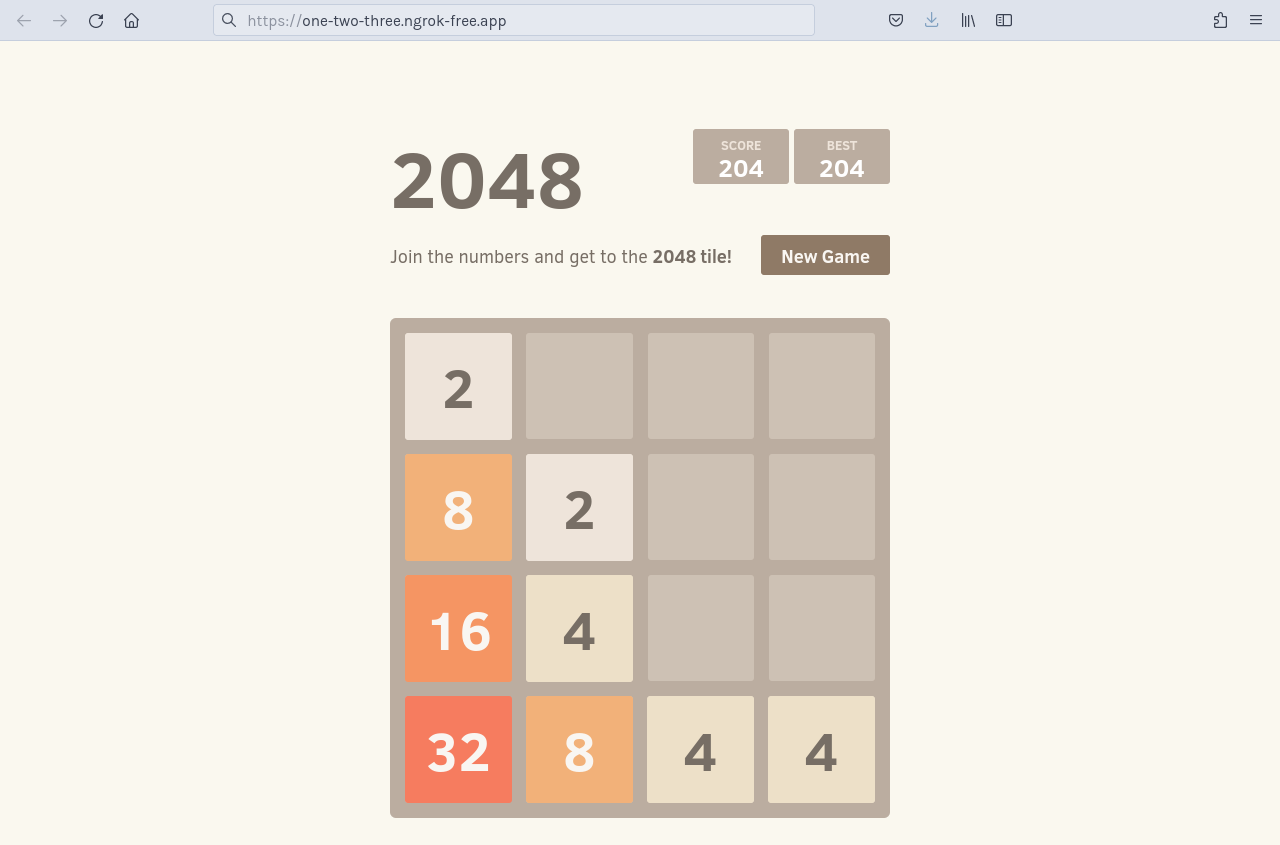
Add OAuth protection to your demo app
Let's take your ingress needs a little further by assuming you want to add edge security, in the form of Google OAuth, to the endpoint where your 2048 application is humming along.
With our Traffic Policy system and the oauth
action, ngrok manages OAuth protection
entirely at the ngrok cloud service, which means you don't need to add any
additional services to your cluster, or alter routes, to ensure ngrok's edge
authenticates and authorizes all requests before allowing ingress and access to
your endpoint.
To enable the oauth action, you'll create a new NgrokTrafficPolicy custom
resource and apply it to your entire Ingress with an annotation. You can also
apply the policy to just a specific backend or as the default backend for an
Ingress—see our doc on using the Operator with
Ingresses.
-
Edit your existing
2048.yamlmanifest with the following, leaving theServiceandDeploymentas they were. Note the newannotationsfield and theNgrokTrafficPolicyCR.Loading…
-
Re-apply your
2048.yamlconfiguration.Loading…
-
When you open your demo app again, you'll be asked to log in via Google. That's a start, but what if you want to authenticate only yourself or colleagues?
-
You can use expressions and CEL interpolation to filter out and reject OAuth logins that don't contain
example.com. Update theNgrokTrafficPolicyportion of your manifest after changingexample.comto your domain.Loading…
-
Check out your deployed 2048 app once again. If you log in with an email that doesn't match your domain, ngrok rejects your request. Authentication... done!
What's next?
You've now used the open source ngrok Kubernetes Operator to add secure access to your endpoint without worrying about IPs, network interfaces, or VPC routing. Because ngrok offloads ingress and middleware execution to its global edge, you can follow the same procedure listed above for any Kubernetes environment, like EKS, GKE, and OpenShift, with similar results.
If you want to clean up the work you did for this demo application, the easiest way (and the advantage of virtual
clusters in the first place) is to disconnect from your vcluster and then delete it with the vcluster CLI. That will remove the namespace and all its resources, returning your primary cluster to its initial state.
Loading…
For next steps, explore our Kubernetes docs for more details on how the Operator works, different ways you can integrate ngrok with an existing production cluster, or use more advanced features like bindings or endpoint pooling.