Twitch
Creating a custom Twitch OAuth application
The step-by-step instructions below follow Twitch's documentation on Using OAuth 2.0 for authentication.
Create credentials for ngrok
-
Navigate to the Twitch developer console, sign in, click Applications on the left menu, and then click Register Your Application.
-
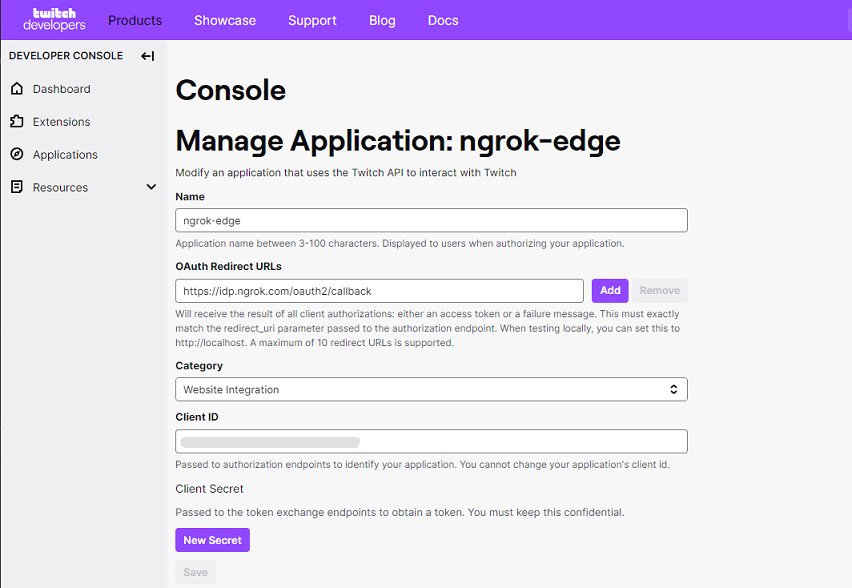
On the Register Your Application page, provide a Name for your application, enter
https://idp.ngrok.com/oauth2/callbackin the OAuth Redirect URLs field, select Website Integration in the Category selector, and then click Create.Note: Make sure you have two-factor authentication enabled for your Twitch account.
-
On the Developer Applications page, click Manage for your application.
-
On the application page, click New Secret, and make a note of the Client ID and Client Secret values.
Update your ngrok endpoint traffic policy
- Access the ngrok Dashboard Endpoints page and locate an existing endpoint you'd like to add this to or create a new one.
- In your traffic policy, add the following configuration:
Loading…
- Click Save to validate and update your traffic policy.
Configure access control
Optionally, configure access control to your service by only allowing specific users or domains. For example:
Loading…