Kubernetes ingress to GKE services with ngrok
The ngrok Kubernetes Operator is our official open-source controller for adding public and secure traffic to your services. It works out of the box with Google Kubernetes Engine cluster to provide ingress to your services no matter the network configuration, as long as it has outbound access to the ngrok service. This allows ngrok to be portable and work seamlessly across any type of infrastructure.
What you'll need
- A GKE cluster
- An ngrok account.
- kubectl and Helm 3.0.0+ installed on your local workstation.
- The ngrok Kubernetes Operator installed on your cluster.
- A reserved domain, which you can get in the ngrok
dashboard or with the ngrok
API.
- You can choose from an ngrok subdomain or bring your own custom branded
domain, like
https://api.example.com. - We'll refer to this domain as
<NGROK_DOMAIN>.
- You can choose from an ngrok subdomain or bring your own custom branded
domain, like
Ensure kubectl can speak with your cluster
With a Google Kubernetes Engine (GKE) cluster, authentication for kubectl happens with a credential helper. So in-order to deploy the ngrok Kubernetes Operator to your cluster, you'll need to ensure that you can use the gcloud CLI and that the credential helper is available.
Let's ensure that you have the gcloud CLI installed and configured with your Google Cloud credentials. You can confirm this works and you're authenticated correctly by running the following command:
Loading…
If you see your correct Google account listed, you should be all set. If not, you can run gcloud auth login to authenticate with your Google account.
Next, we'll ensure that the credential helper is available. Run the following command to confirm that the credential helper is available:
Loading…
Finally, we can add the cluster to our KUBECONFIG:
Loading…
Install the ngrok Kubernetes Operator
Now we can install the ngrok Kubernetes Operator to provide ingress to our services.
Check out our Operator installation doc for details on how to use to install with your ngrok credentials.
Install a Sample Application
Create a manifest file (for example ngrok-manifest.yaml) with the following contents. You will need to replace the NGROK_DOMAIN on line 45 with your own custom value. This is the URL you will use to access your service from anywhere. If you're on a free account, it must be on a static subdomain which you can claim by logging into your account and following the instructions on the claim static subdomain banner. For paid accounts, you can use a custom domain or a subdomain of ngrok.app or ngrok.dev (for example, username-loves-ingress.ngrok.app or k8s.example.com).
- Lines 1-34: Create the 2048 app service and deployment
- Lines 35-54 (highlighted): Create the ngrok Kubernetes Operator. Line 45 determines the ingress URL for public requests.
Loading…
-
Apply the manifest file to your k8s cluster.
Loading…
Note: If you get an error when applying the manifest, double check that you've updated the
NGROK_DOMAINvalue and try again. -
Access your ingress URL using the subdomain you chose in the manifest file above (i.e.
https://my-awesome-k8s-cluster.ngrok.app) to confirm the 2048 app is accessible from the internet.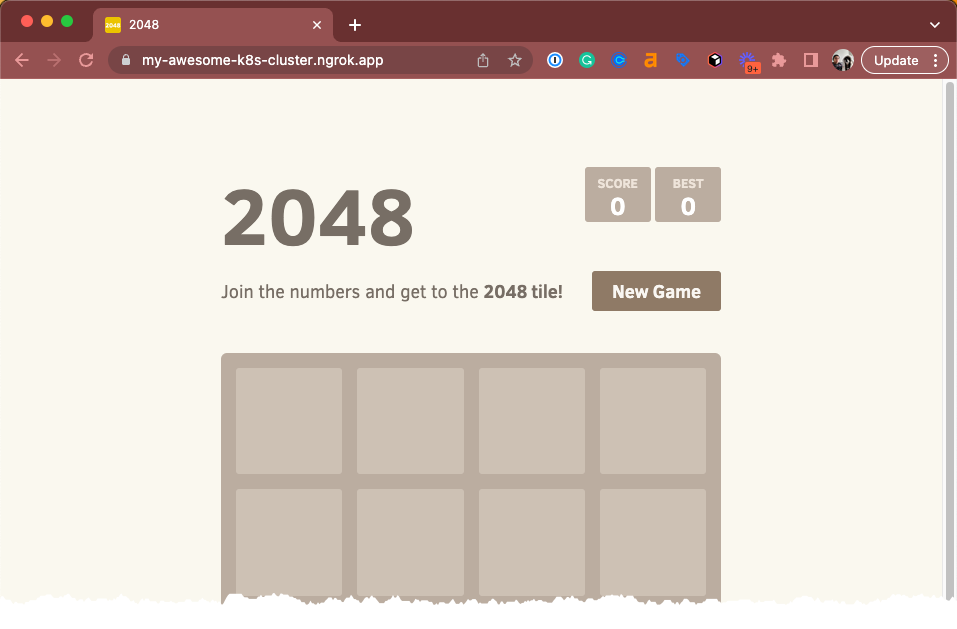
Add authentication to your app
With our Traffic Policy system and the oauth
action, ngrok manages OAuth protection
entirely at the ngrok cloud service, which means you don't need to add any
additional services to your cluster, or alter routes, to ensure ngrok's edge
authenticates and authorizes all requests before allowing ingress and access to
your endpoint.
To enable the oauth action, you'll create a new NgrokTrafficPolicy custom
resource and apply it to your entire Ingress with an annotation. You can also
apply the policy to just a specific backend or as the default backend for an
Ingress—see our doc on using the Operator with
Ingresses.
-
Edit your existing
2048.yamlmanifest with the following, leaving theServiceandDeploymentas they were. Note the newannotationsfield and theNgrokTrafficPolicyCR.Loading…
-
Re-apply your
2048.yamlconfiguration.Loading…
-
When you open your demo app again, you'll be asked to log in via Google. That's a start, but what if you want to authenticate only yourself or colleagues?
-
You can use expressions and CEL interpolation to filter out and reject OAuth logins that don't contain
example.com. Update theNgrokTrafficPolicyportion of your manifest after changingexample.comto your domain.Loading…
-
Check out your deployed 2048 app once again. If you log in with an email that doesn't match your domain, ngrok rejects your request. Authentication... done!