FusionAuth Endpoint SSO (OpenID Connect)
This guide refers to using SSO to authenticate access to your endpoints. You cannot use these instructions to set up SSO for logging into your ngrok account in the dashboard.
To secure access to ngrok with FusionAuth Single Sign-On using OpenID Connect:
This article details how to configure FusionAuth as the primary Identity Provider for ngrok tunnels. By integrating FusionAuth SSO with ngrok, you can:
- Restrict access to ngrok tunnels only to users authenticated via FusionAuth
- Use FusionAuth Premium Features and Login Methods — including Advanced Registration Forms, Passwordless Login, WebAuthn, and Advanced Threat Detection to control access to ngrok tunnels.
Supported Features
The ngrok integration with FusionAuth supports:
- OIDC based SSO: In this mode, users access ngrok edges and tunnels and are redirected to FusionAuth for authentication.
Requirements
To configure ngrok tunnels with FusionAuth, you must have:
- A public facing FusionAuth instance. You can spin up a basic FusionAuth Cloud instance or install it on any server.
- An ngrok Enterprise Account with an authtoken or admin access to configure edges with OpenID Connect.
- A local web app or application that needs to be protected by Fusion Auth.
Configuration Steps
To integrate ngrok with FusionAuth SSO, you will need to:
- Configure FusionAuth with the ngrok app
- Configure ngrok with the SSO settings provided by FusionAuth
Step 1: Configure FusionAuth
Add the ngrok App in FusionAuth
- Navigate to your FusionAuth instance.
- Navigate to Tenants > Your Tenant and change the issuer to the URL of your FusionAuth instance. For example, https://acme.fusionauth.io.
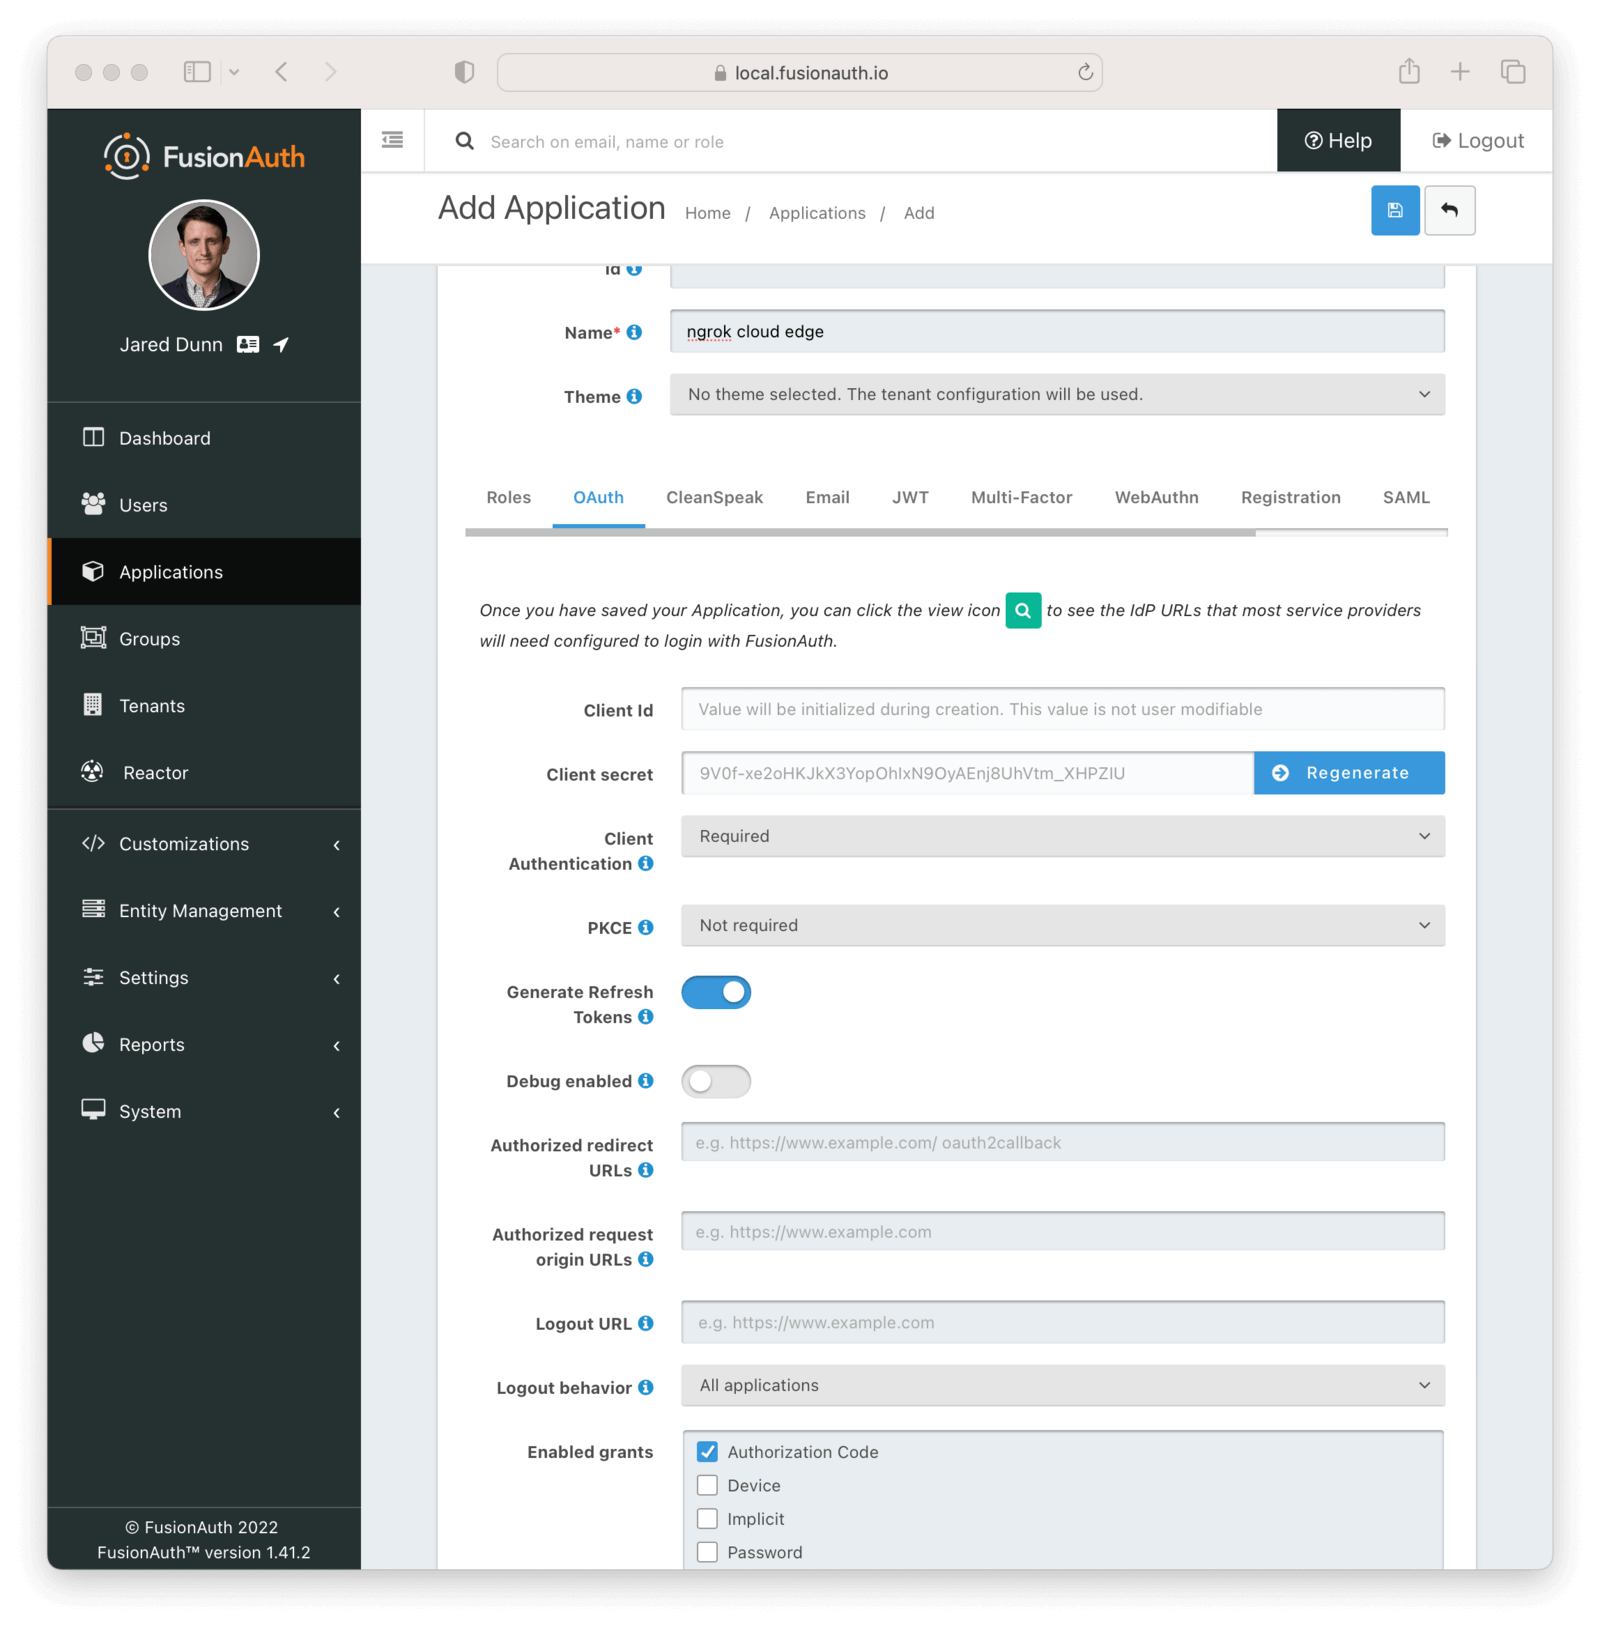
- Navigate to Applications and then create a new Application. Fill out the Name field, then click the OAuth tab.
- Make sure that the Enabled grants checkboxes have the Authorization Code and Refresh Token grants enabled.
- In the Authorized redirect URLs field add
https://idp.ngrok.com/oauth2/callback - Click the
Savebutton. - You should see values in the Client Id and Client secret fields. Copy them; ou’ll use them in the Configure ngrok step.
- Your Application should look like this:
Step 2: Configure ngrok
ngrok can leverage FusionAuth SSO in two ways:
- From the ngrok CLI (using the
--oidcparameter) - From the ngrok dashboard
Option 1: ngrok CLI
Note: For this tutorial, we assume you have an app running locally (i.e., on localhost:3000) with the ngrok client installed.
-
Launch a terminal
-
Enter the following command to launch an ngrok tunnel with FusionAuth SSO. Replace
<FusionAuth_url>with your FusionAuth org address (i.e., https://acme.fusionauth.com) and the<FusionAuth_client_id>and<FusionAuth_client_secret>with the respective values copied from the ngrok app registered at FusionAuth:Loading…
-
Skip to Step 3
Option 2: ngrok Edge
To configure an edge with FusionAuth:
-
Go to dashboard.ngrok.com.
-
Click Universal Gateway > Edges
-
If you don't have an edge already set to add FusionAuth SSO, create a test edge:
- Click New Edge
- Click HTTPS Edge
- Click the pencil icon next to "no description". Enter Edge with FusionAuth SSO as the edge name and click Save.
-
On the edge settings, click OIDC.
-
Click Begin setup and enter the following:

- Issuer URL: Your FusionAuth tenant url (i.e. https://acme.fusionauth.com).
- Client ID: The client id copied from FusionAuth
- Client Secret: The client secret copied from FusionAuth
-
Click Save.
-
Launch a tunnel connected to your FusionAuth edge:
For this step, we assume you have an app running locally (i.e. on localhost:3000) with the ngrok client installed.
-
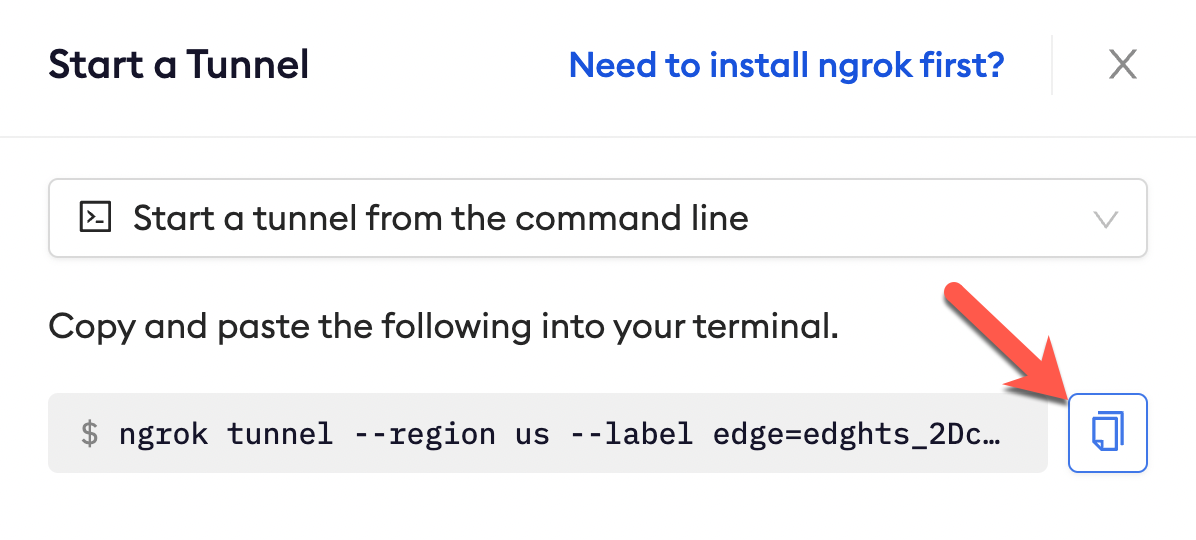
Click Start a tunnel.
-
Click the copy icon next to the tunnel command.
-
Launch a tunnel:
- Launch a terminal
- Paste the command. Replace http://localhost:80 with your local web app addess (i.e., http://localhost:3000)
- hit Enter. an ngrok tunnel associated to your edge configuration is launched.
-
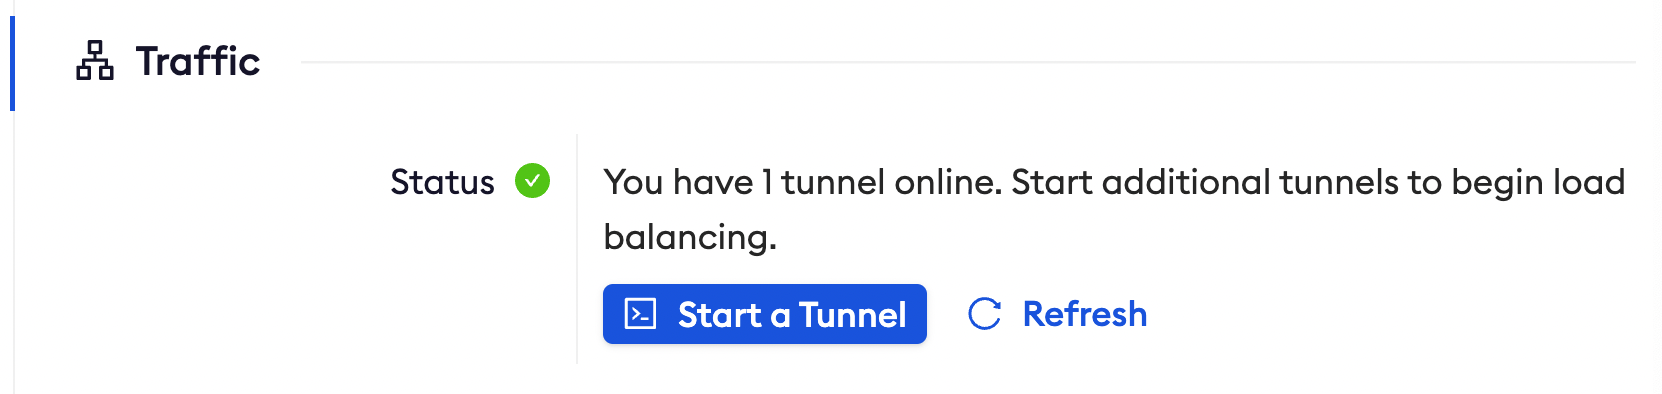
To confirm that the tunnel is connected to your edge:
- Return to the ngrok dashboard
- Close the Start a tunnel and the Tunnel group tabs
- Refresh the test edge page. Under traffic, You will see the message You have 1 tunnel online. Start additional tunnels to begin load balancing
-
In the Endpoints section, copy the endpoint URL. (you will use this url to test the FusionAuth Authentication)

Step 3: Test the integration
- In your browser, launch an incognito window.
- Access your ngrok tunnel (i.e., https://fusionauth-sso-test.ngrok.app or using a copied URL).
- You should be prompted to log in with your FusionAuth credentials.
- After login, you should be able to see your web app.