Users
Users are members of your Account that may log into the dashboard, start agents, create endpoints and access the API.- Users have one or more Credentials that they use to authenticate with the ngrok service.
- Users are not uniquely owned by an account. A User may be a member of more than one account.
- Users are subject to Role Based Access Control that allows you to restrict what actions Users may take within the account.
- Whenever a User takes an action within an account, the corresponding Event Log will attribute the event to the User by recording it as the Principal.
Dashboard access
Users may log into the ngrok dashboard. You may configure your account to restrict how users authenticate to the dashboard. ngrok supports dashboard authentication via an email and password, an IdP like GitHub or Google or your own Single Sign-On IdP like Okta or Azure AD. Users may log into your ngrok Account’s dashboard. Normally, users enter an email and password to log into the ngrok dashboard but you may configure your ngrok account to require additional factors or require SSO. Service Users, by contrast, may not log into the dashboard.Password management
You can sign up for an ngrok account using an email and password, or using an SSO provider.Reset a forgotten password
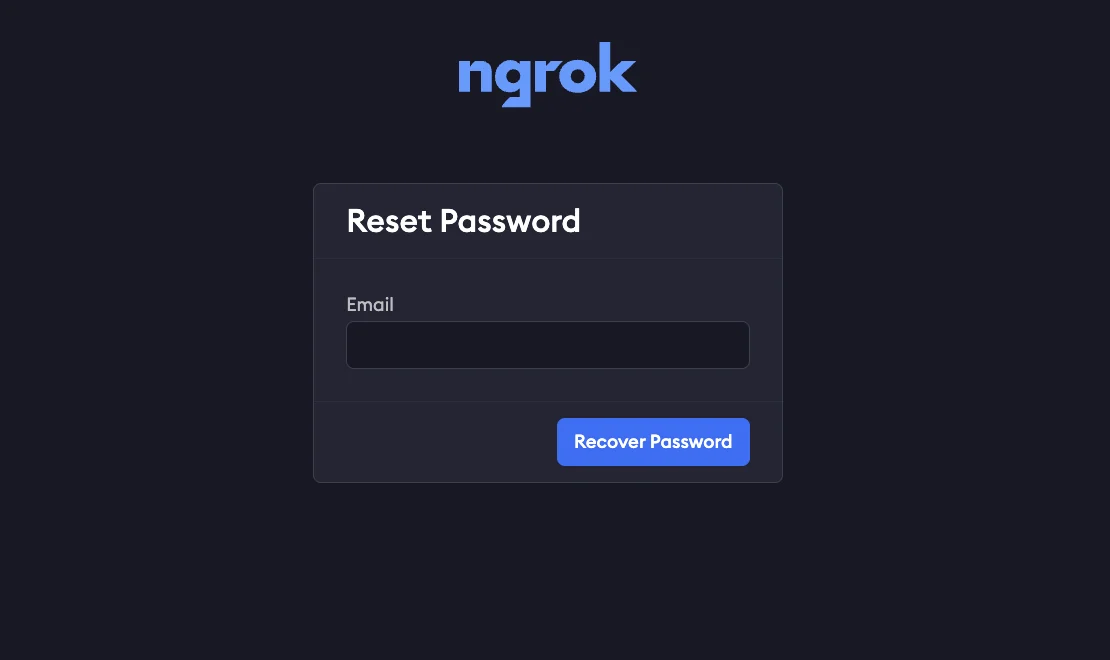
If you’ve forgotten your password, it can be reset at any time via the login page.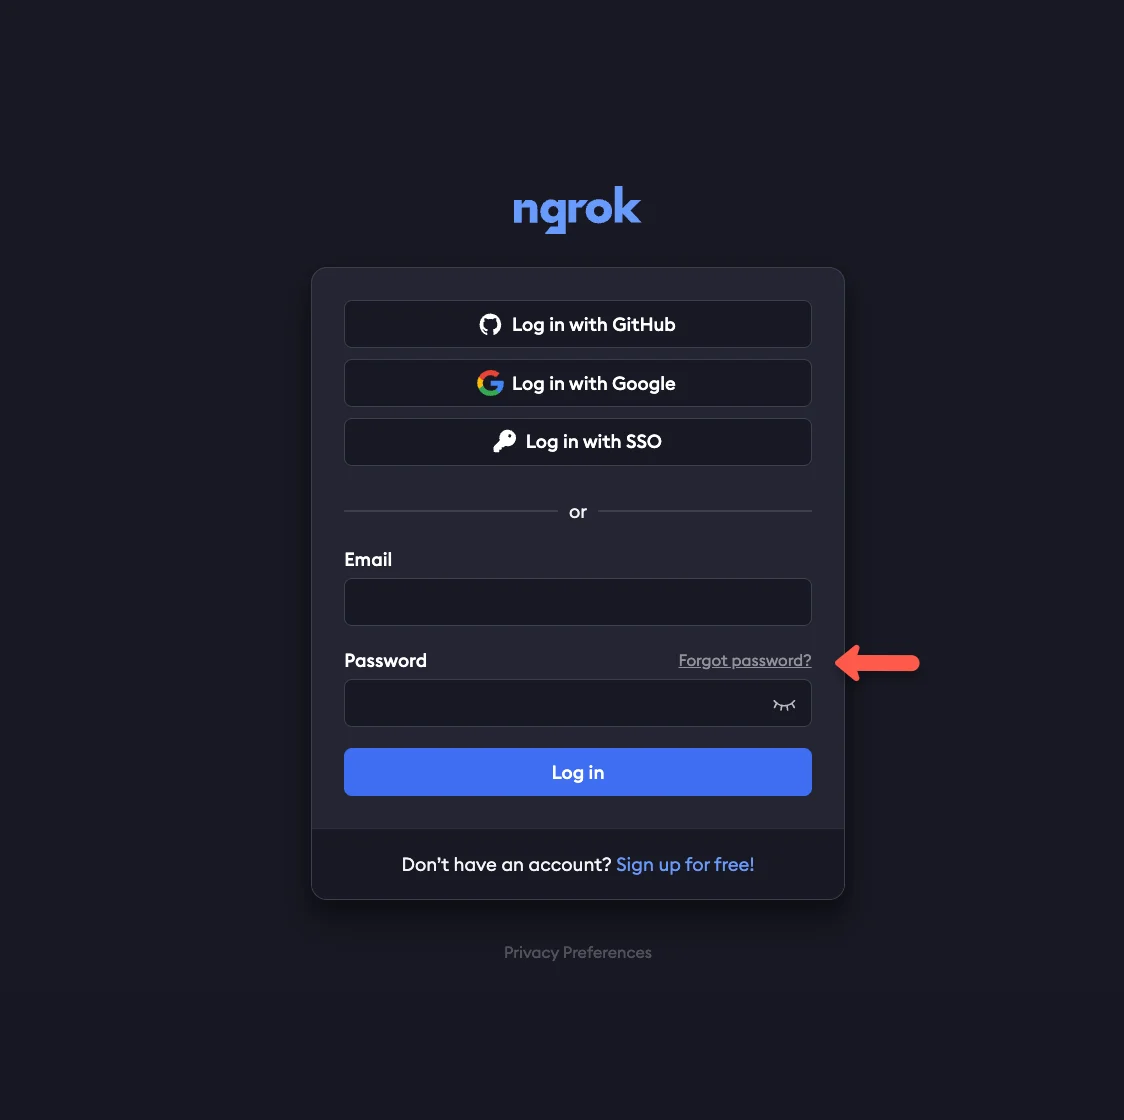
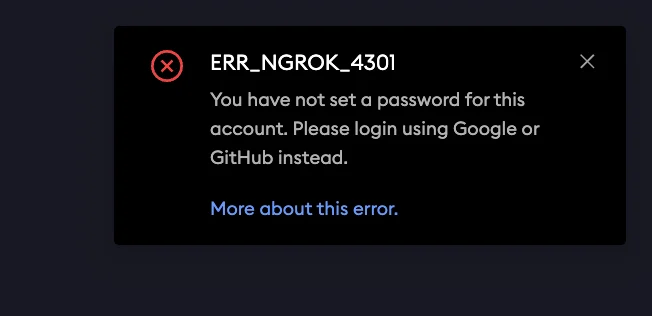
If you use SSO to sign in, and haven’t also added a password to your account, you won’t be able to reset your password.
ERR_NGROK_4301 error, you’ll need to try signing in with SSO, as you didn’t set a password for the account.
Change your password
If you already have access to your account already, but want to change the password, you can do so via your user settings. Select your username in the upper-left corner of the dashboard and selecting User Settings. From there, you’ll enter your old password, and the new one you would like to use.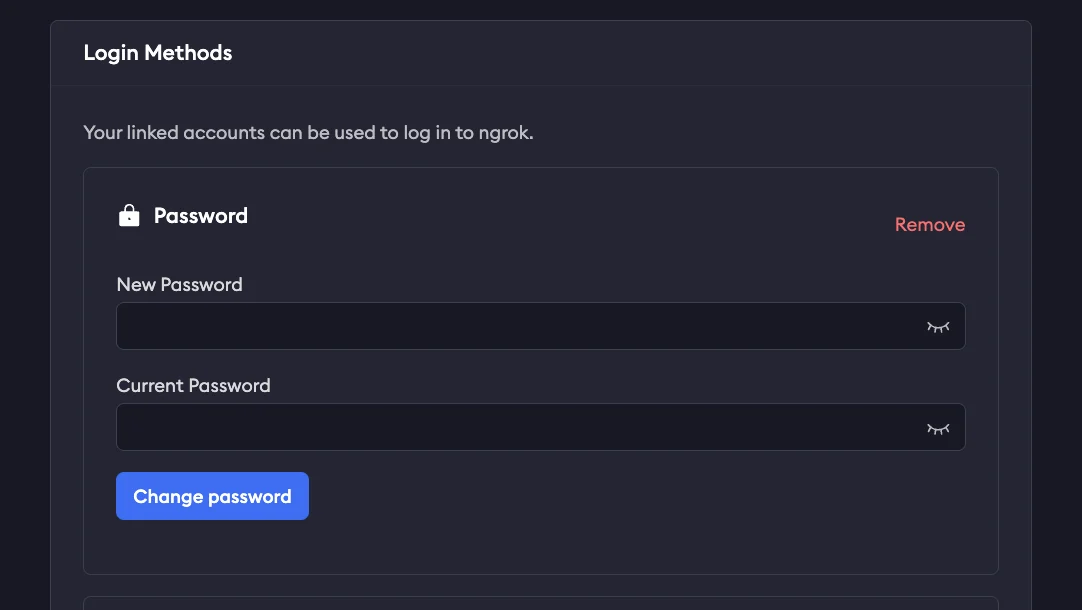
MFA
Multi Factor Authentication (MFA) allows you to add an extra layer of security to your ngrok account by requiring an additional authentication factor to log in. At the moment, MFA only supports one-time passwords (TOTP) as an additional factor. You may configure your ngrok account to enforce that all users have MFA enabled.Set up MFA during signup
When signing up for an ngrok account for the first time, you’ll be prompted to set up Multi Factor Authentication with a QR code from ngrok to use with your preferred authenticator.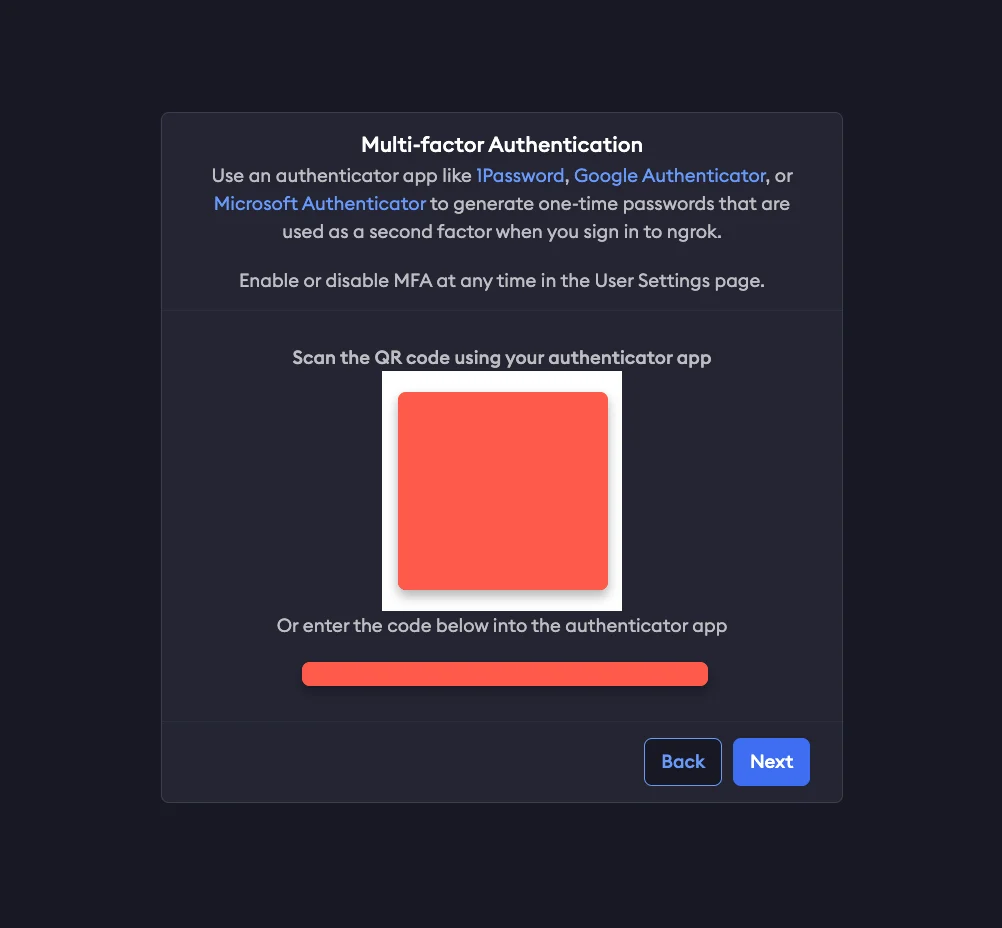
Recovery codes
You will also be provided a list of recovery codes, which you can copy and paste elsewhere or download directly. Store these recovery codes in a secure location, as they can be used to access your account if you lose access to your authenticator device.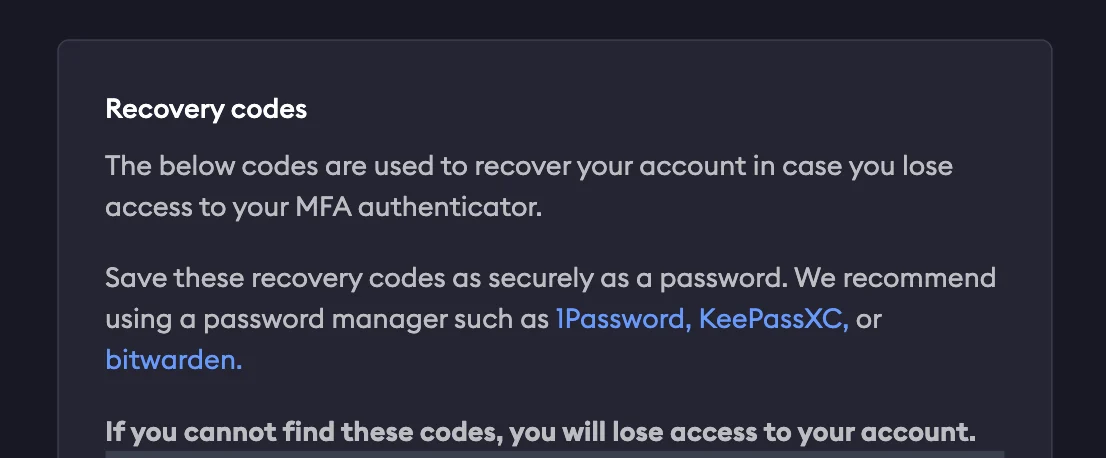
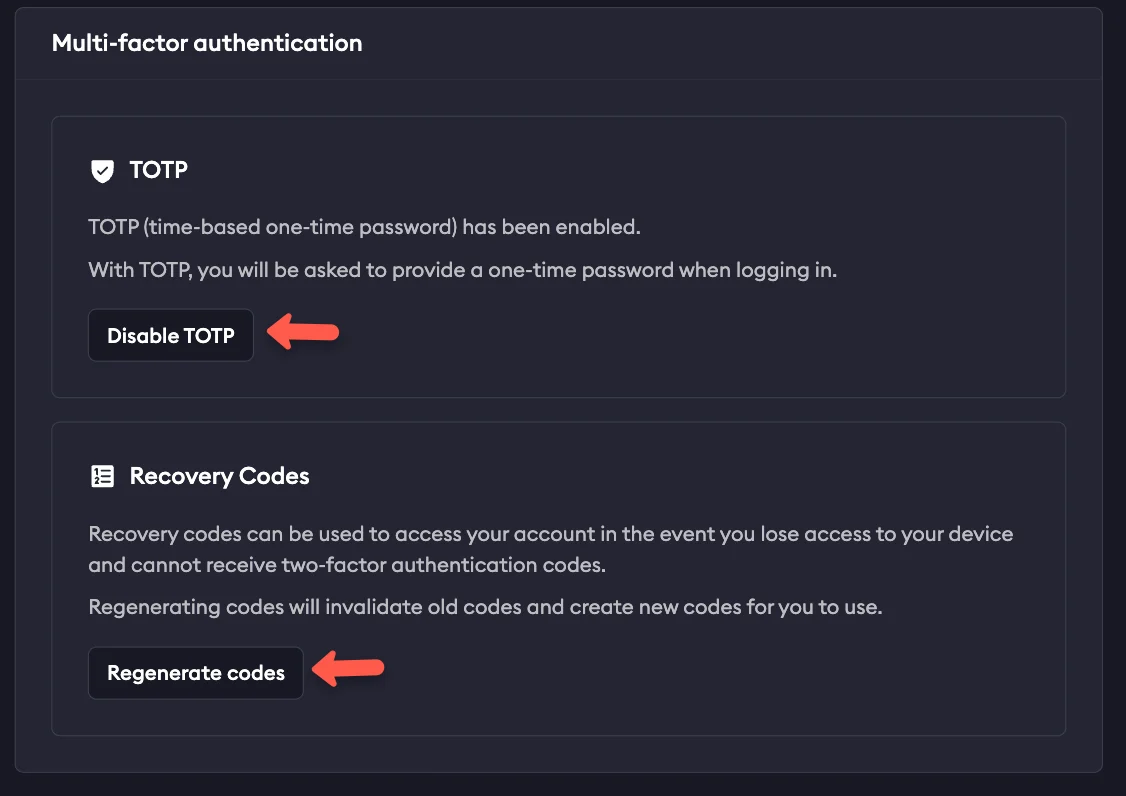
Manage MFA settings
You can enable or disable MFA at any time once logged into your account by selecting on your username in the upper left corner of your dashboard, and then User Settings. Scroll down to Multi Factor Authentication and select Enable or Disable, as well as generate new recovery codes if needed.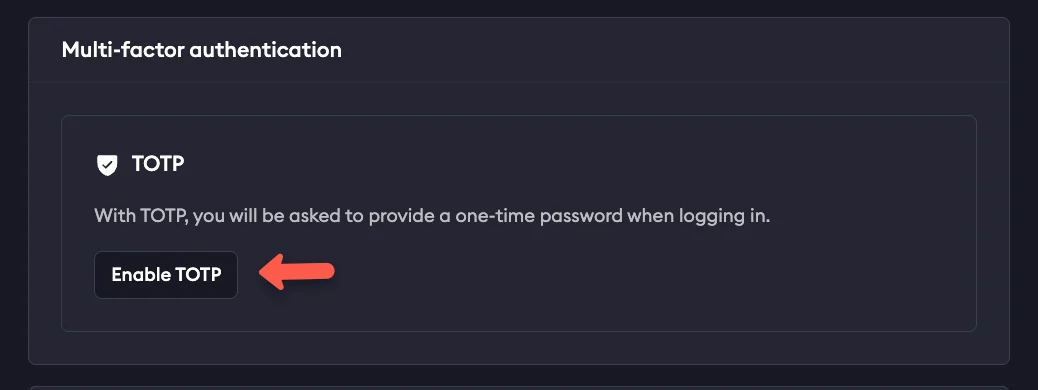
Lost access or recovery
If you lose access to your authenticator or device and do not have recovery codes downloaded, or have used all available codes, email support@ngrok.com with the email you use to sign in to your ngrok account.Single sign-on
Users may also log in with a federated IdP via single sign-on. Your ngrok account may be configured to require the use of single sign-on for all of your users to log in. Consult the Single Sign-On documentation for additional details on configuring it.IP restrictions
In addition to the normal authentication factors required to log into the ngrok dashboard, you may also configure your ngrok account to further restrict dashboard access to a set of IP CIDR blocks. Dashboard IP Restrictions should always be used in a warning mode first to test that you won’t accidentally lock yourself out of your account if you restrict access to IPs that you can’t use. IP Restrictions can be configured manually on the ngrok dashboard or programmatically via API with atype of dashboard.